How to create a new user
Last updated: May 21, 2024
Read time: 6 minutes
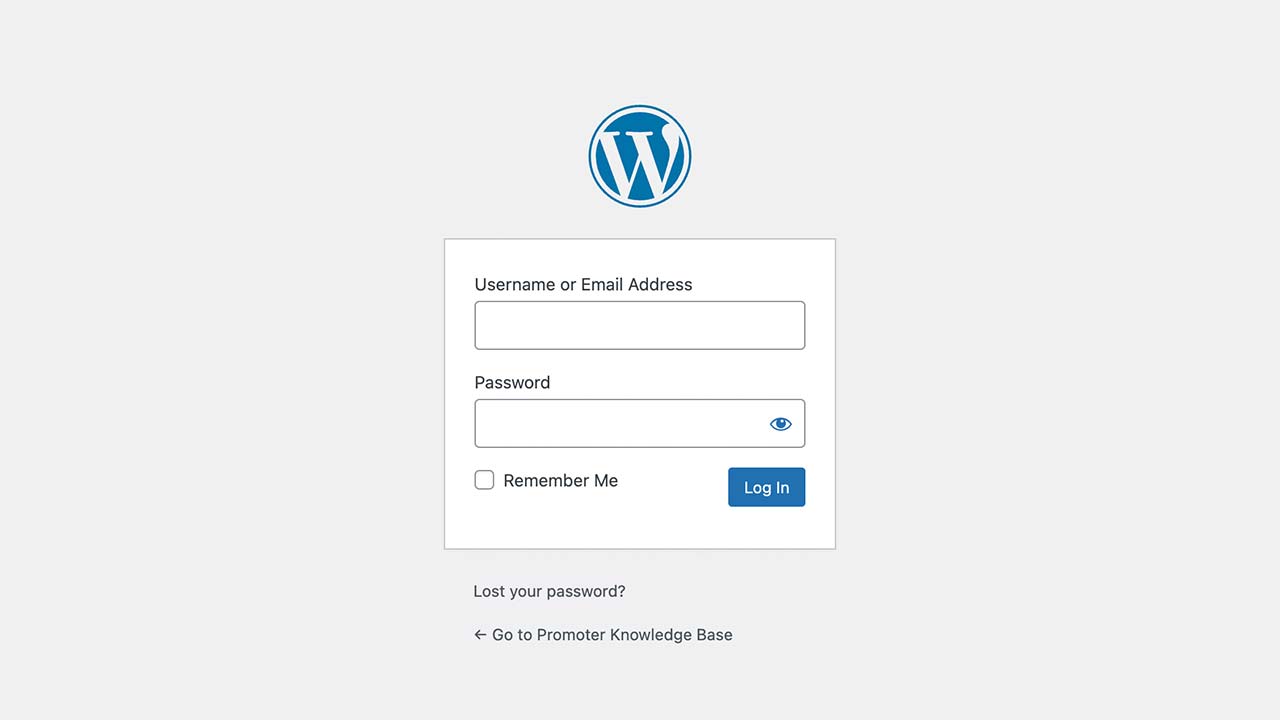
1. Log in to Your WordPress admin dashboard
- Open your web browser and go to your WordPress login page.
- Enter your username and password, then click “Log In.”
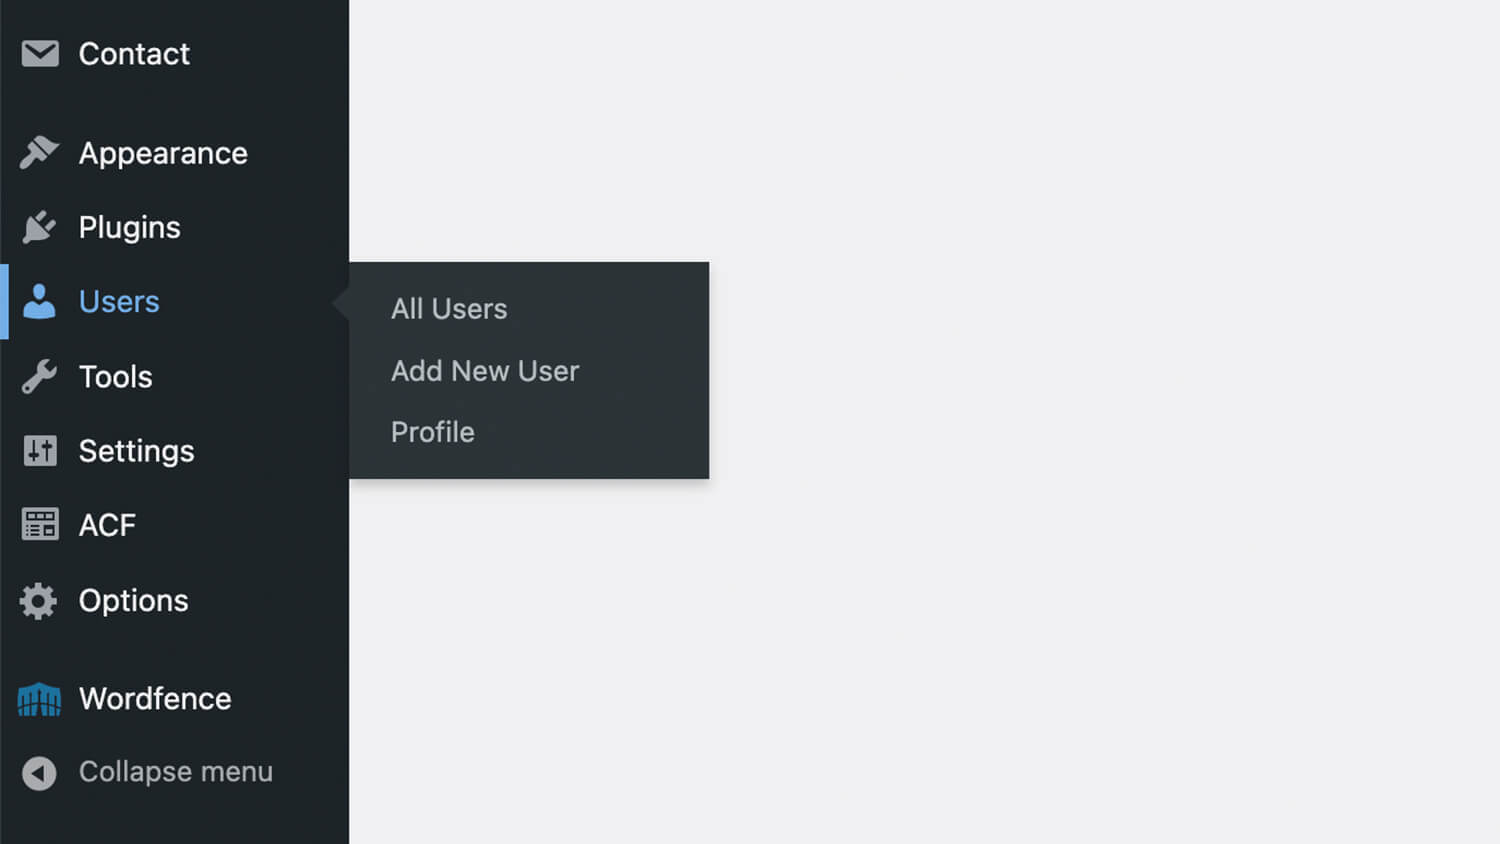
3. Enter User Information
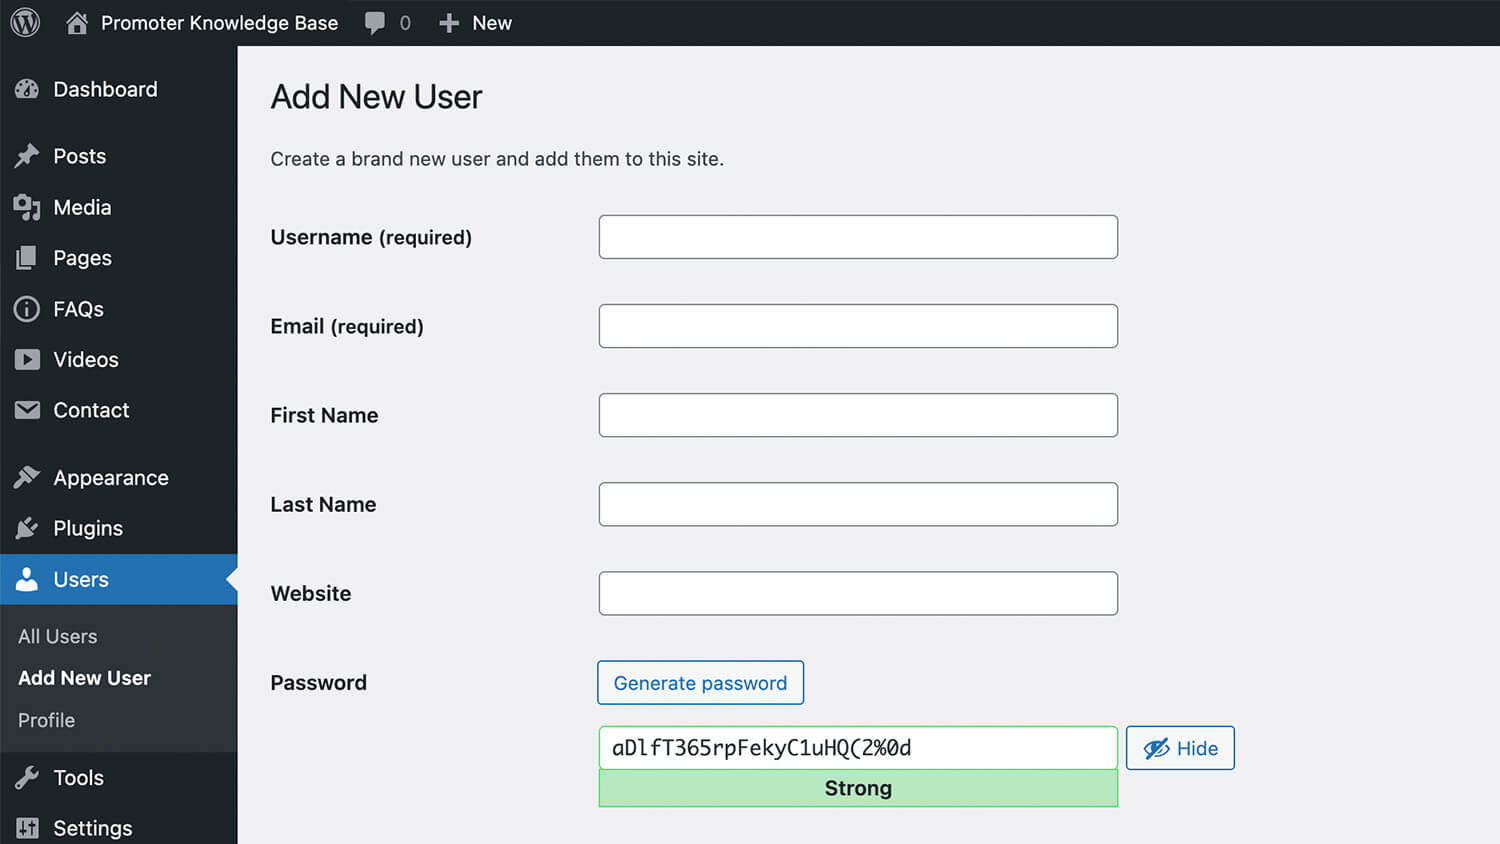
- You will be taken to the “Add New User” page.
- Fill in the required fields:
- Username: The username the new user will use to log in.
- Email: The user’s email address.
- First Name (optional): The user’s first name.
- Last Name (optional): The user’s last name.
- Website (optional): The user’s website URL.
- Set a Password:
- Click on “Show password” to generate a strong password automatically. You can also enter your own password.
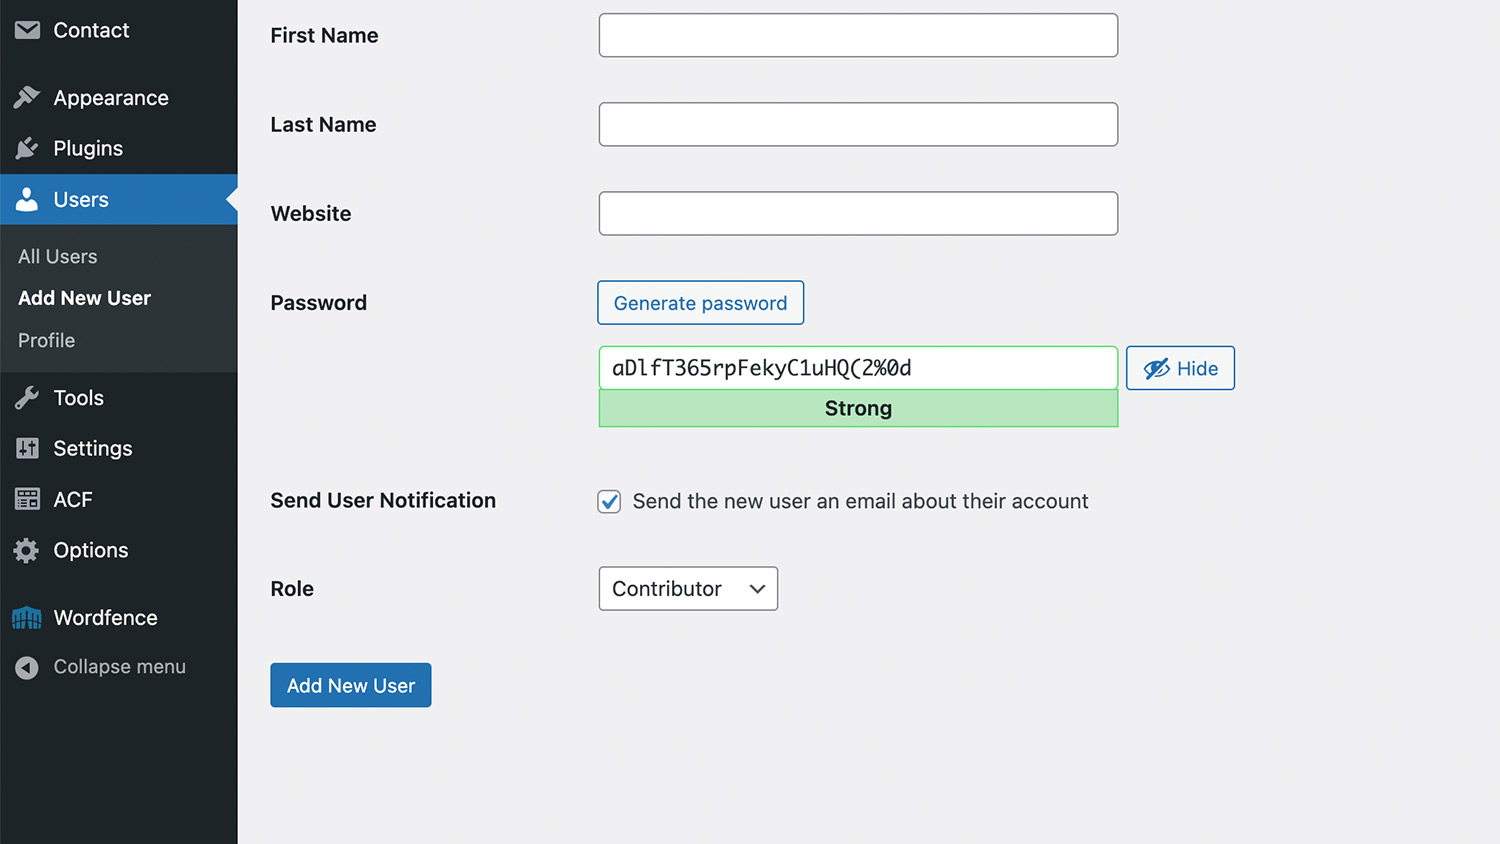
- Send User Notification:
- Check the box next to “Send the new user an email about their account” if you want WordPress to notify the user of their new account.
4. Select the user role
- In the “Role” dropdown menu, select the appropriate role for the new user. The roles include:
- Subscriber: Can only manage their profile.
- Contributor: Can write and manage their posts but not publish them.
- Author: Can publish and manage their own posts.
- Editor: Can publish and manage posts, including those of other users.
- Administrator: Has access to all administrative features.
Add new user and confirm
- Once you have filled in all the required information and selected a role, click the “Add New User” button.
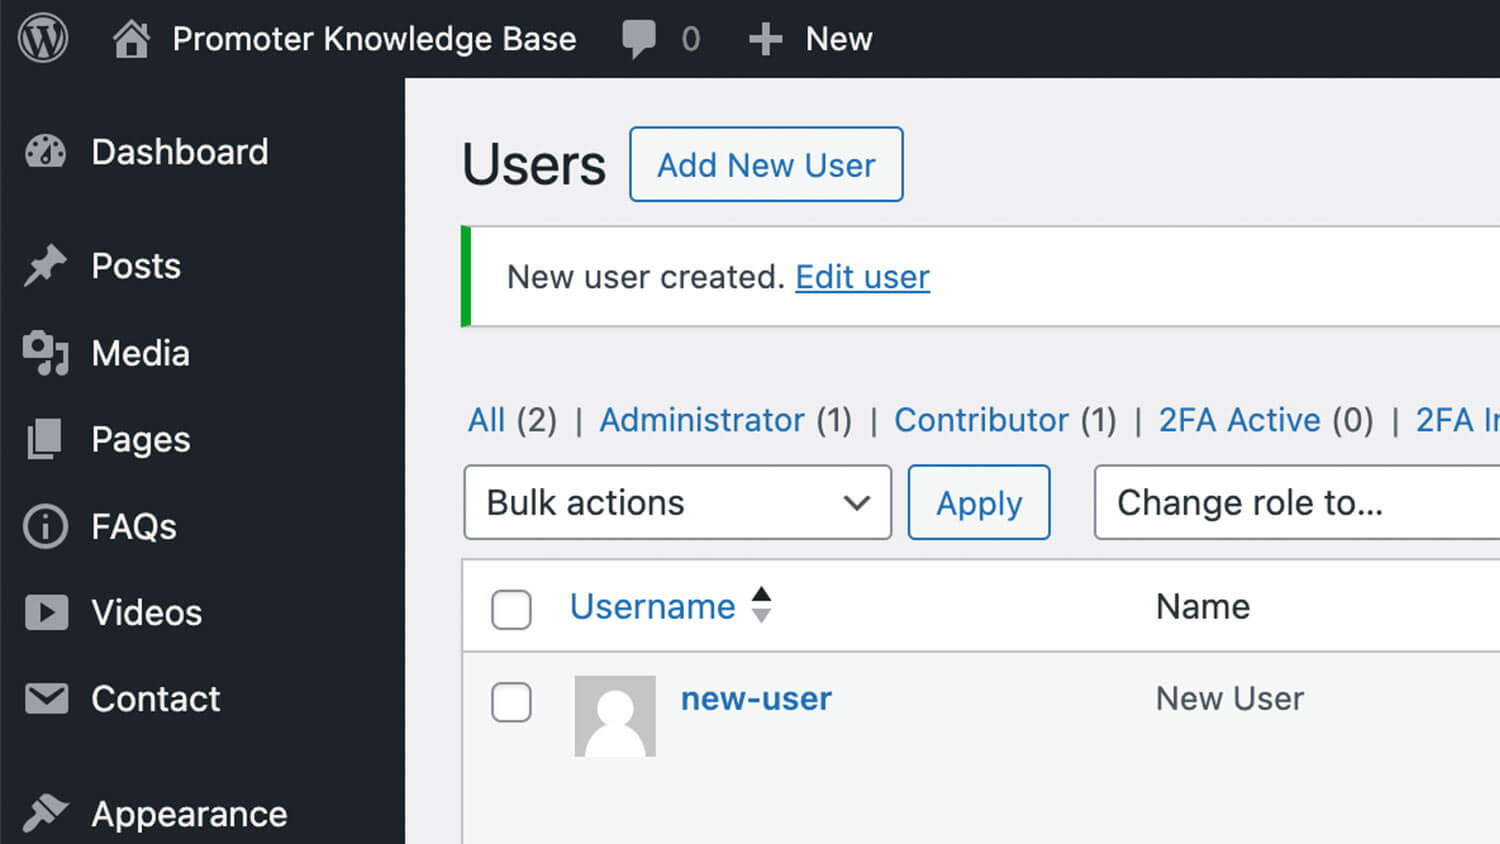
- You will be redirected to the Users page, where you will see the new user listed.
Top tips
- Role Selection: Choose the user role carefully based on the permissions you want to grant.
- Strong Password: Ensure the password is strong to enhance security.
- Email Notification: Sending a notification email helps the new user get started quickly.