How to schedule a post
Last updated: July 16, 2024
Read time: 6 minutes
1. Log in to Your WordPress Admin Dashboard
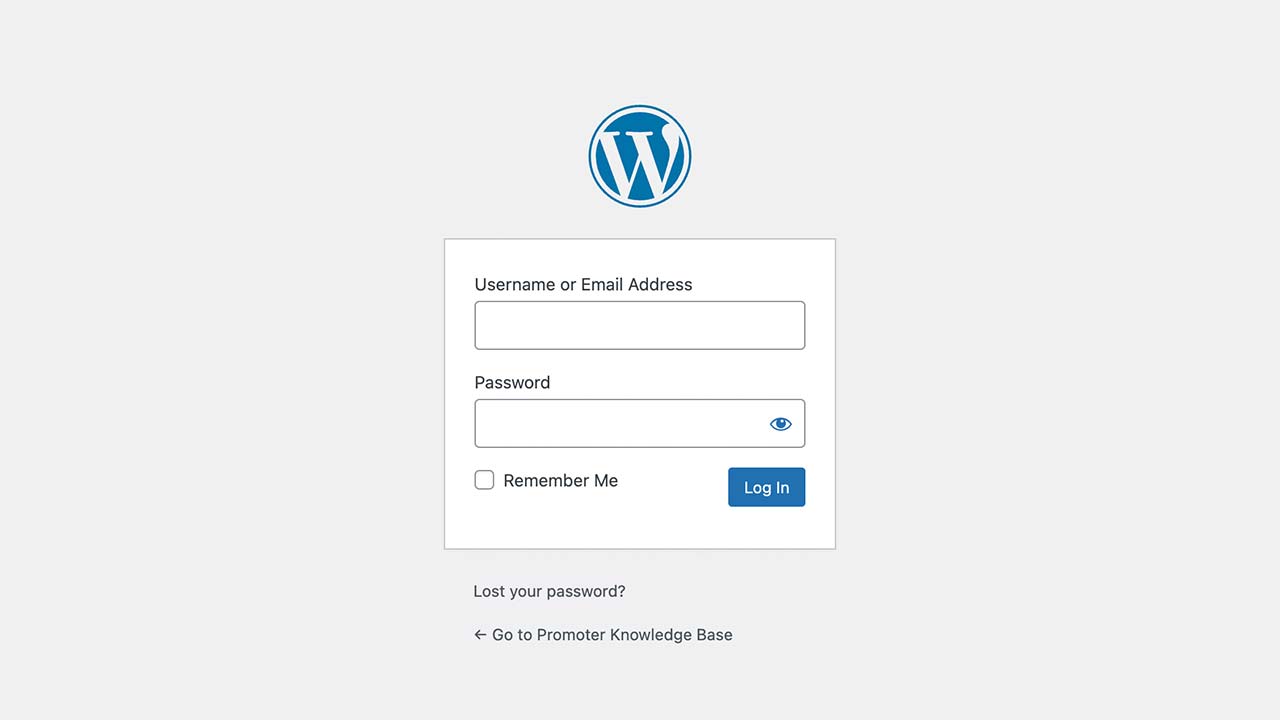
- Open your web browser and go to your WordPress login page.
- Enter your username and password, then click “Log In.”
2. Create a New Post
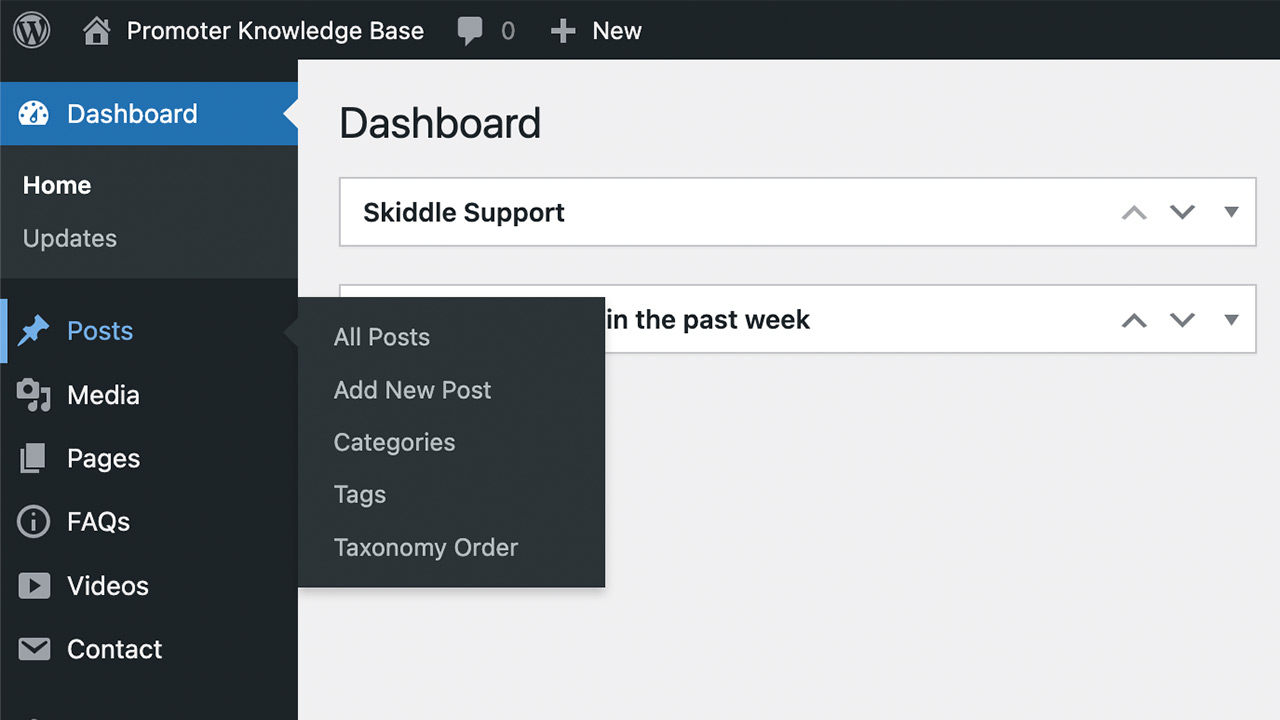
- In the dashboard, hover over “Posts” in the left sidebar menu.
- Click on “Add New Post.”
3. Write The Post
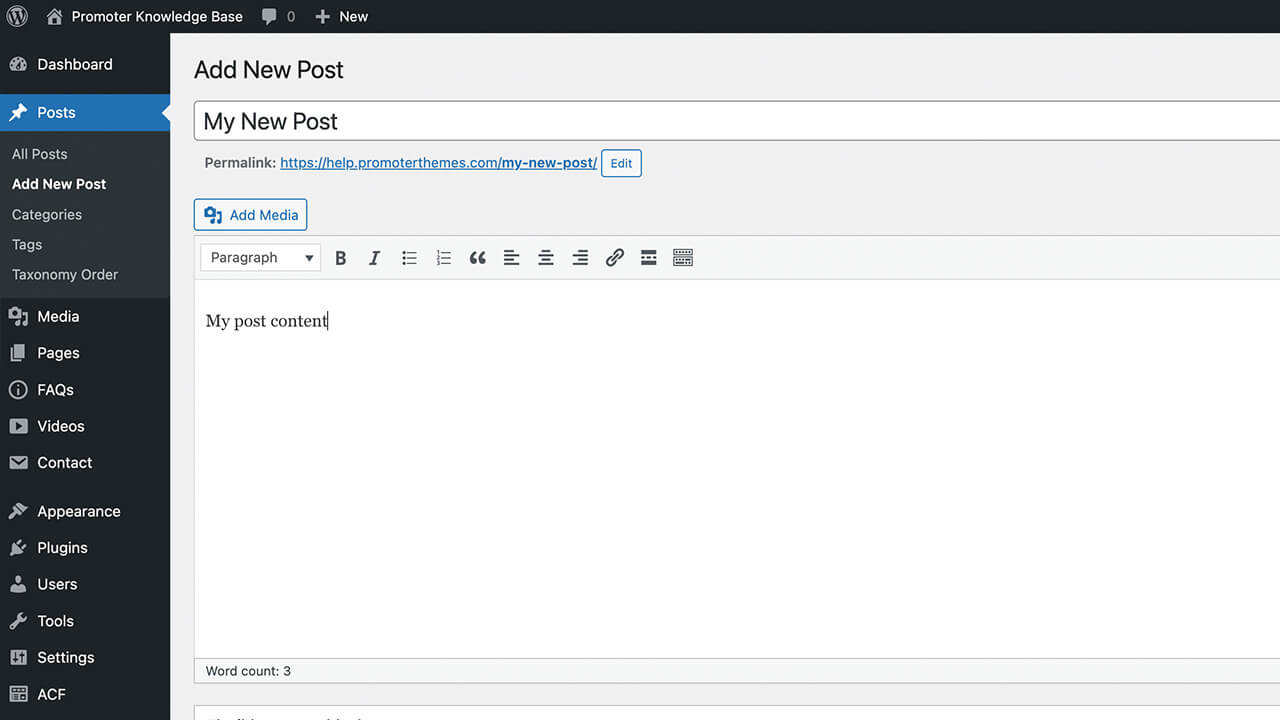
- Enter your post title in the “Add title” field.
- Write your content in the main content area. You can also add images, videos, and other media by clicking the “Add Media” button.
4. Configure Post Settings
- In the right-hand sidebar, you’ll find various post settings like Categories, Tags, Featured Image, and more. Configure these as needed.
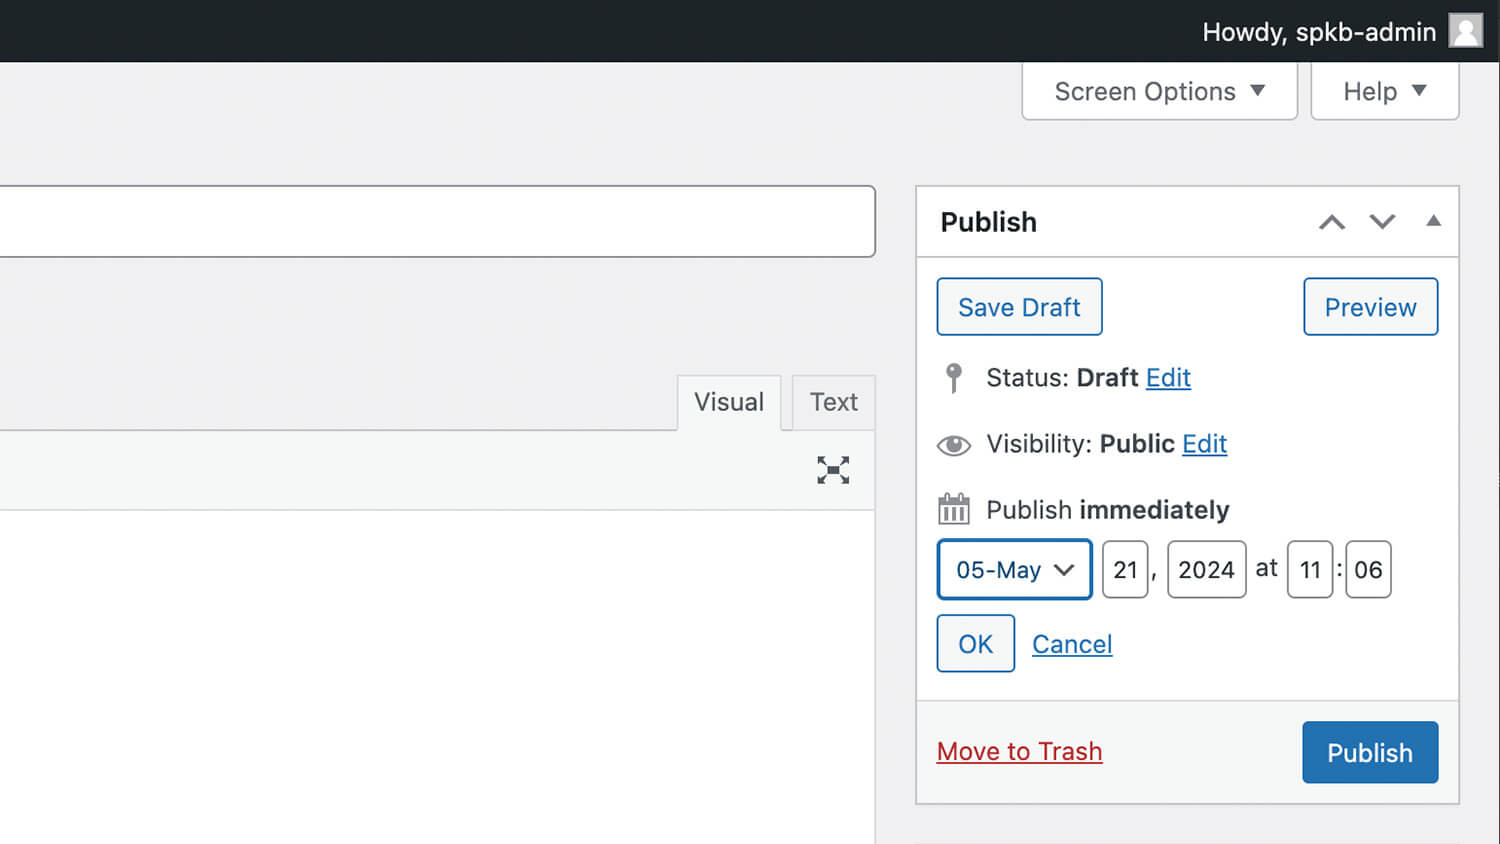
- In the right-hand sidebar under the “Status & visibility” section, find the “Publish” options.
- By default, the post is set to “Publish immediately.” Click on the “Immediately” link.
5. Schedule The Post & Confirm
- Once you’ve selected the desired date and time, the “Publish” button at the top right will change to “Schedule.”
- Click the “Schedule” button.
- After clicking “Schedule,” WordPress will confirm that your post is scheduled.
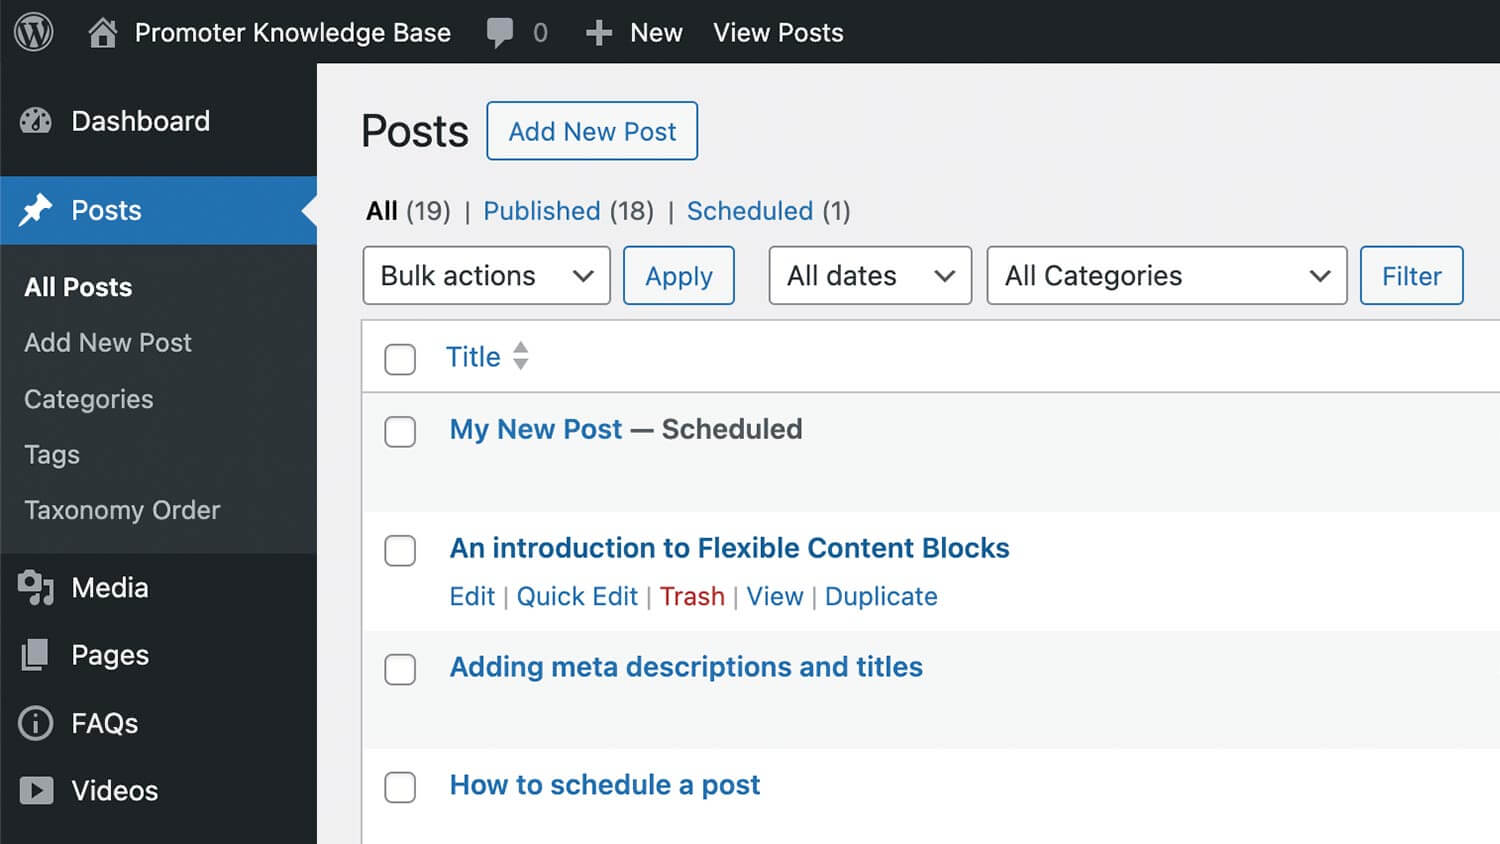
- You can view your scheduled posts by going to “Posts” and then “All Posts.” Look for the “Scheduled” status next to your post.
Tip
- Preview: Always preview your post before scheduling to ensure everything looks as expected.
- Time Zone: Ensure your WordPress time zone is correct. Check this under Settings > General in your dashboard.
Frequently asked questions
Where do posts appear on my website?
Posts generally appear on your site’s blog page or homepage, depending on your theme settings. They can also be added to any page using the news article flexible block. They are also archived by date, category, and tag, making it easy for visitors to browse through past content.