Managing menus

Last updated: July 17, 2024

Read time: 11 minutes


WordPress menus are essential for guiding visitors through your website and helping them find the information they need. This guide will walk you through creating, editing, and managing menus in WordPress.
Accessing the Menus Section

  • Log into your WordPress dashboard.
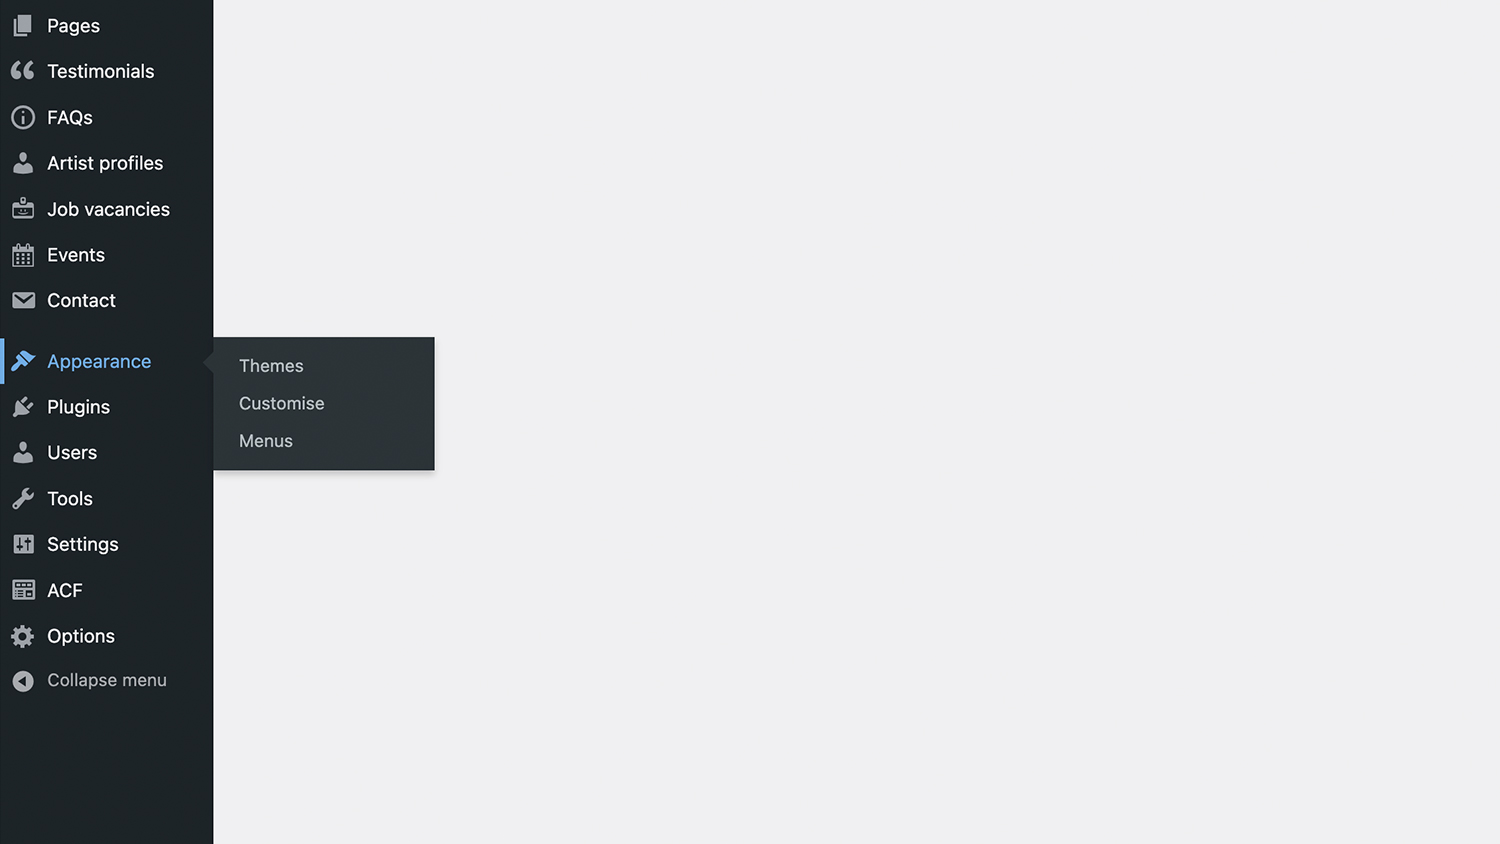
  • In the left-hand sidebar, hover over “Appearance” and click on “Menus.”
Accessing the Wordpress menus in the sidebar

Creating a New Menu

  • If you don’t have a menu yet, you’ll need to create one.
  • Click the “create a new menu” link or enter a name for your menu in the “Menu Name” field and click the “Create Menu” button.
Creating a new menu
Creating a new menu

Adding Items to the Menu

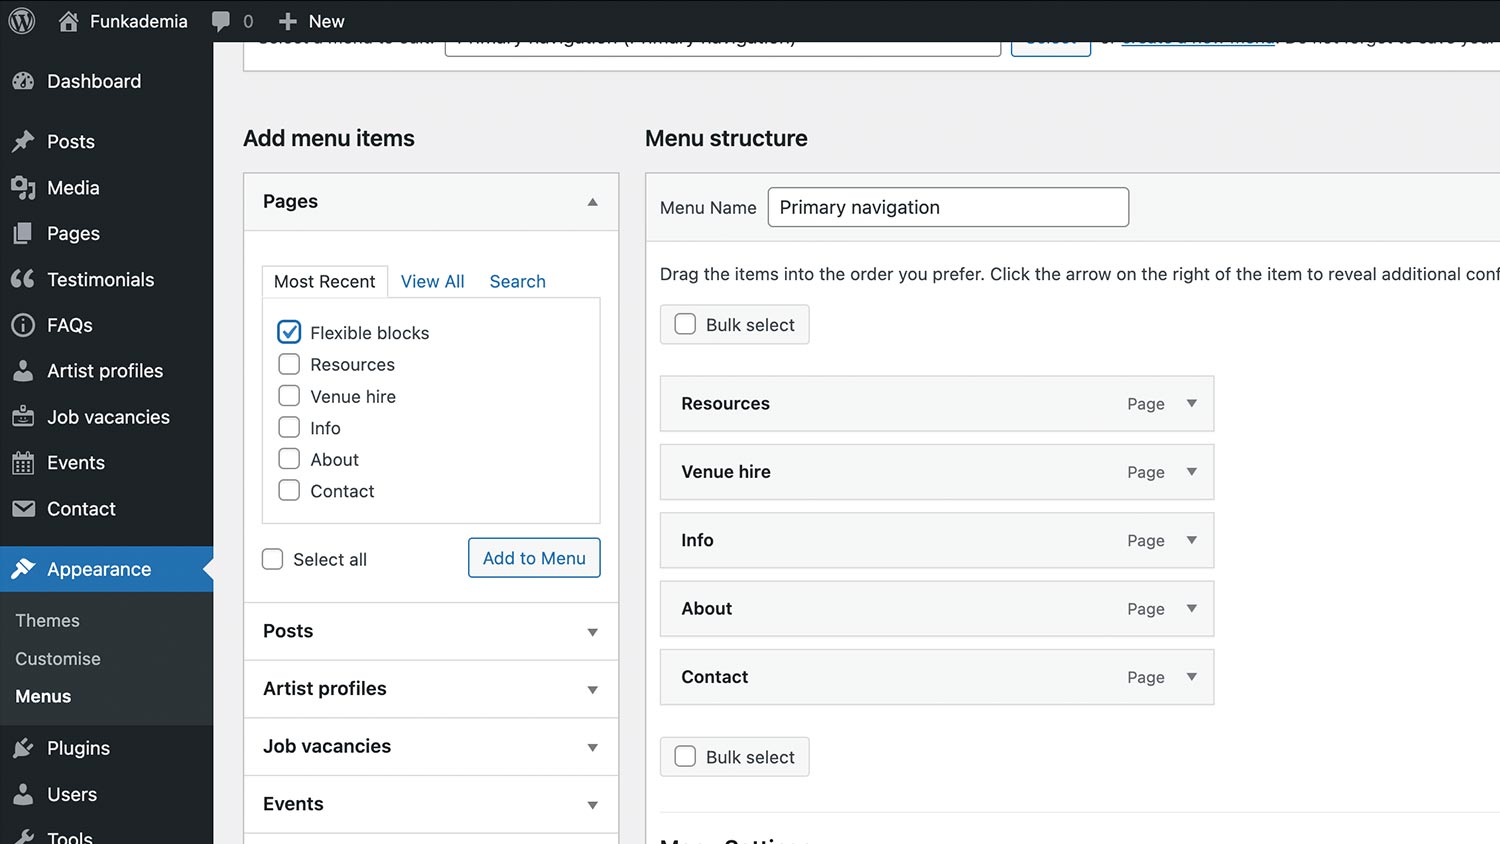
  • You can add various items to your menu, such as pages, posts, custom links, and categories.
  • On the left side of the Menus screen, you’ll see different sections like “Pages,” “Posts,” “Custom Links,” and “Categories.”
  • Check the box next to the items you want to add and click the “Add to Menu” button.
Adding menu items to the menu

Organising Menu Items

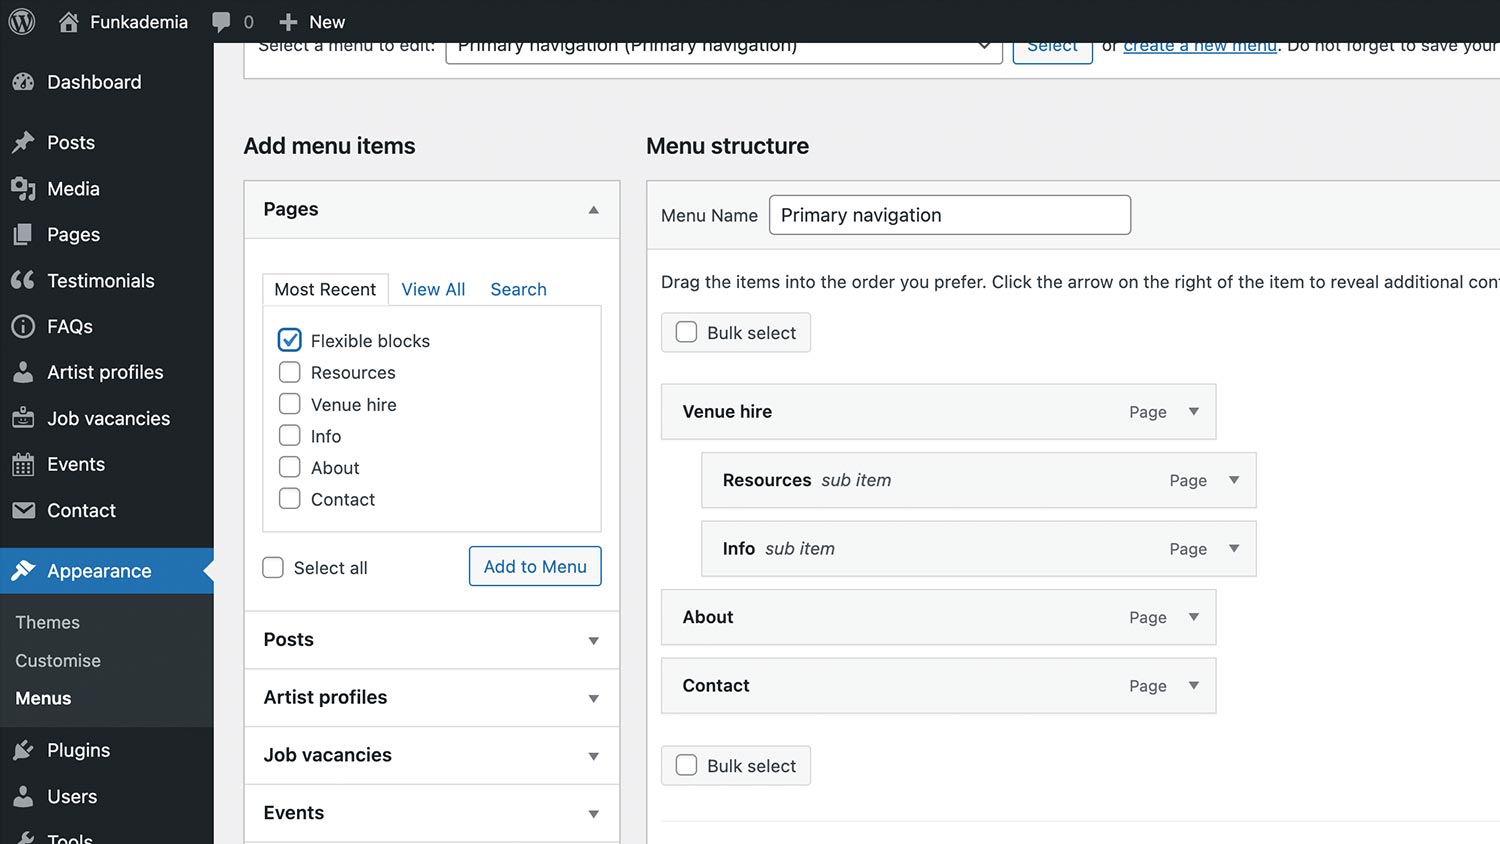
  • Once items are added to the menu, you can organize them.
  • Drag and drop menu items to arrange them in the desired order.
  • To create a submenu (a dropdown menu), drag a menu item slightly to the right underneath another item. It will appear indented.
Organising menu items

Configuring Menu Settings

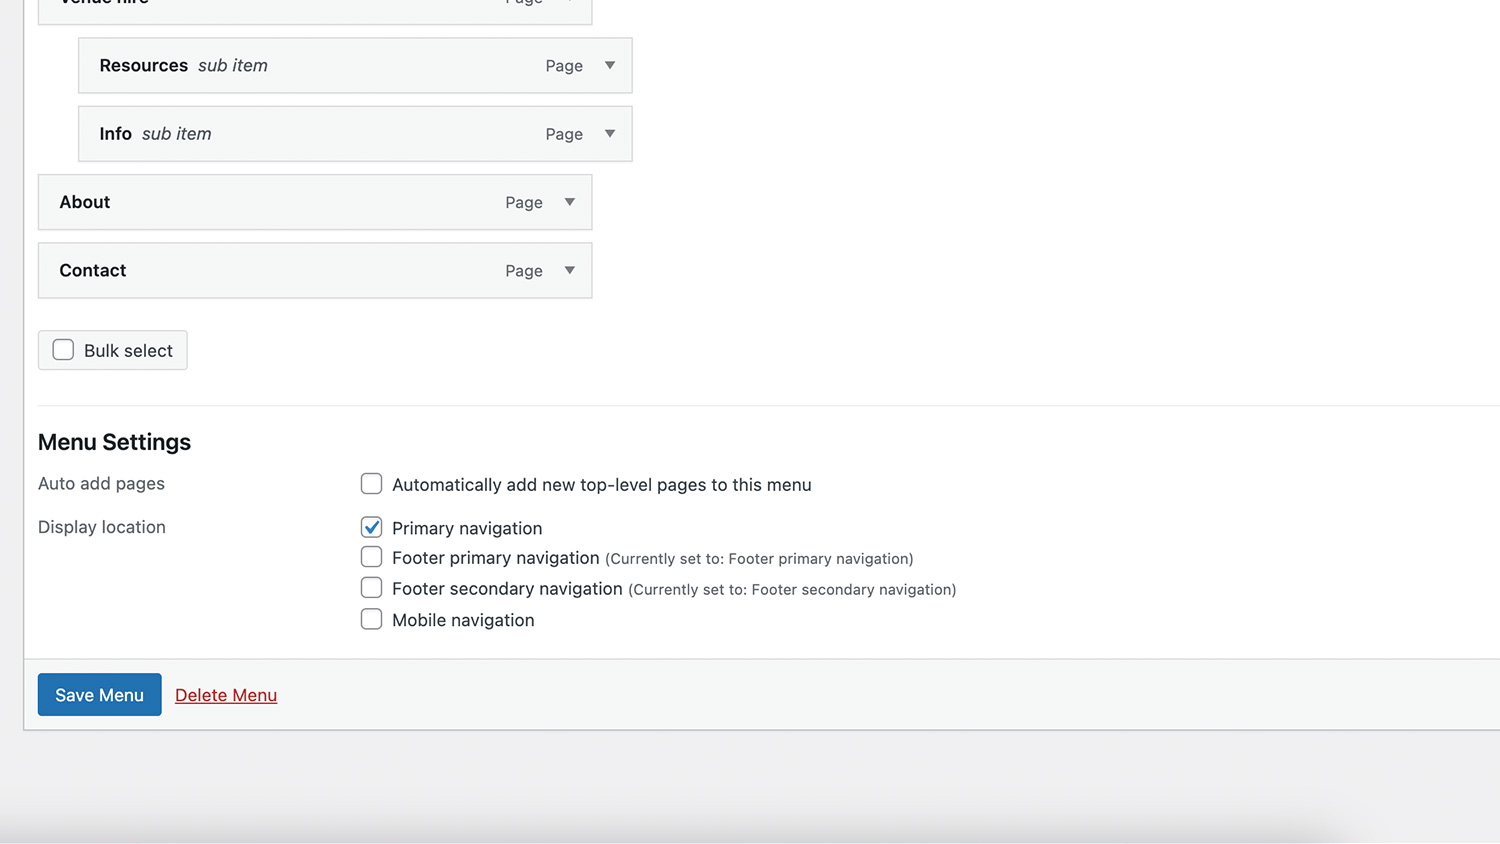
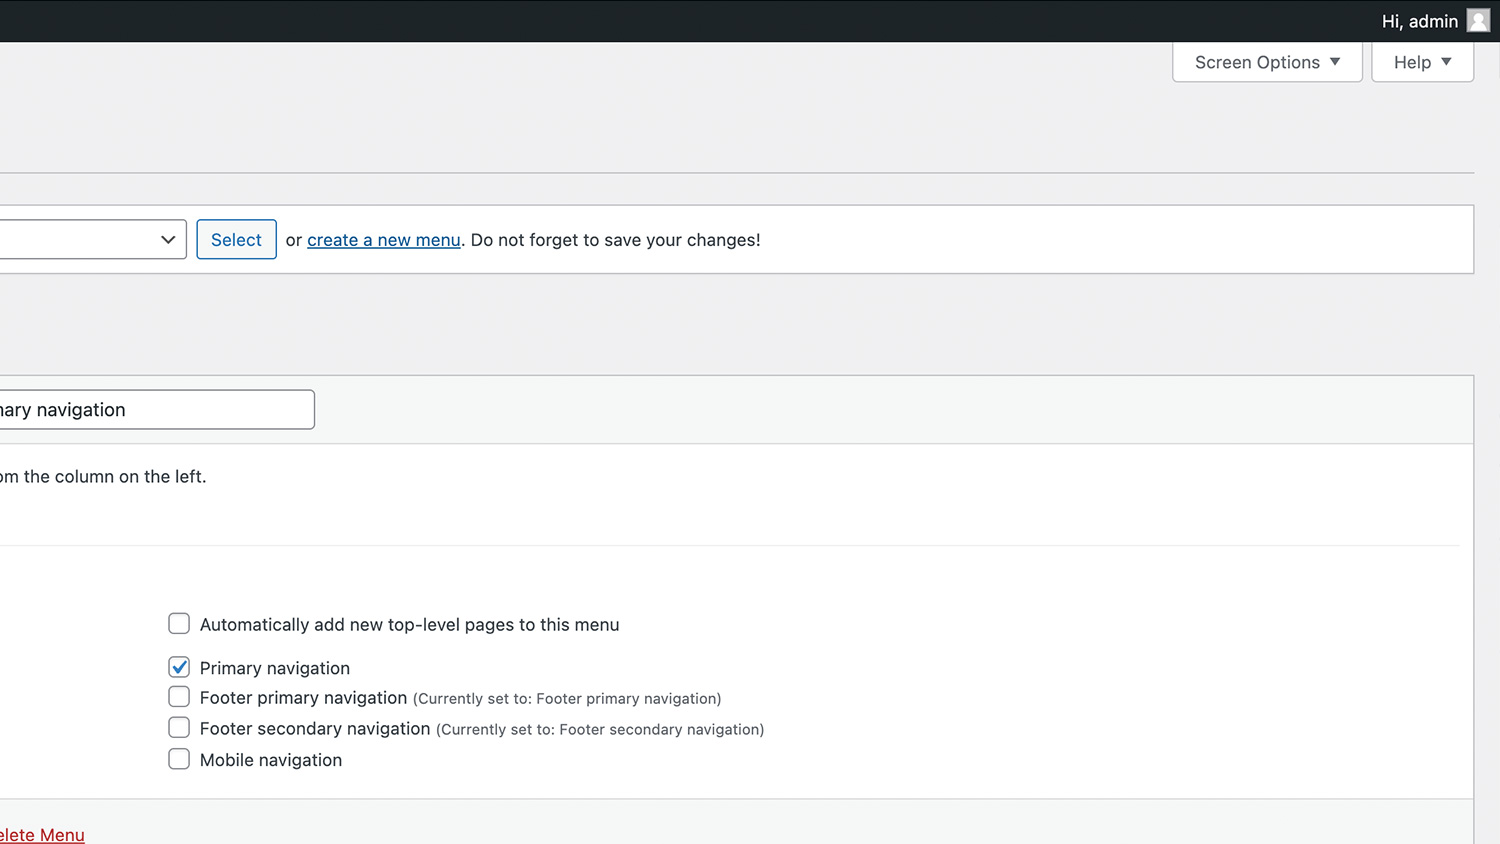
  • At the bottom of the menu editor, you’ll find Menu Settings.
  • You can select a display location for your menu. The available options depend on your theme, but common locations include “Primary,” “Footer,” and “Social Menu.”
  • Check the box next to the desired location(s) for your menu.
Configuring the menu settings

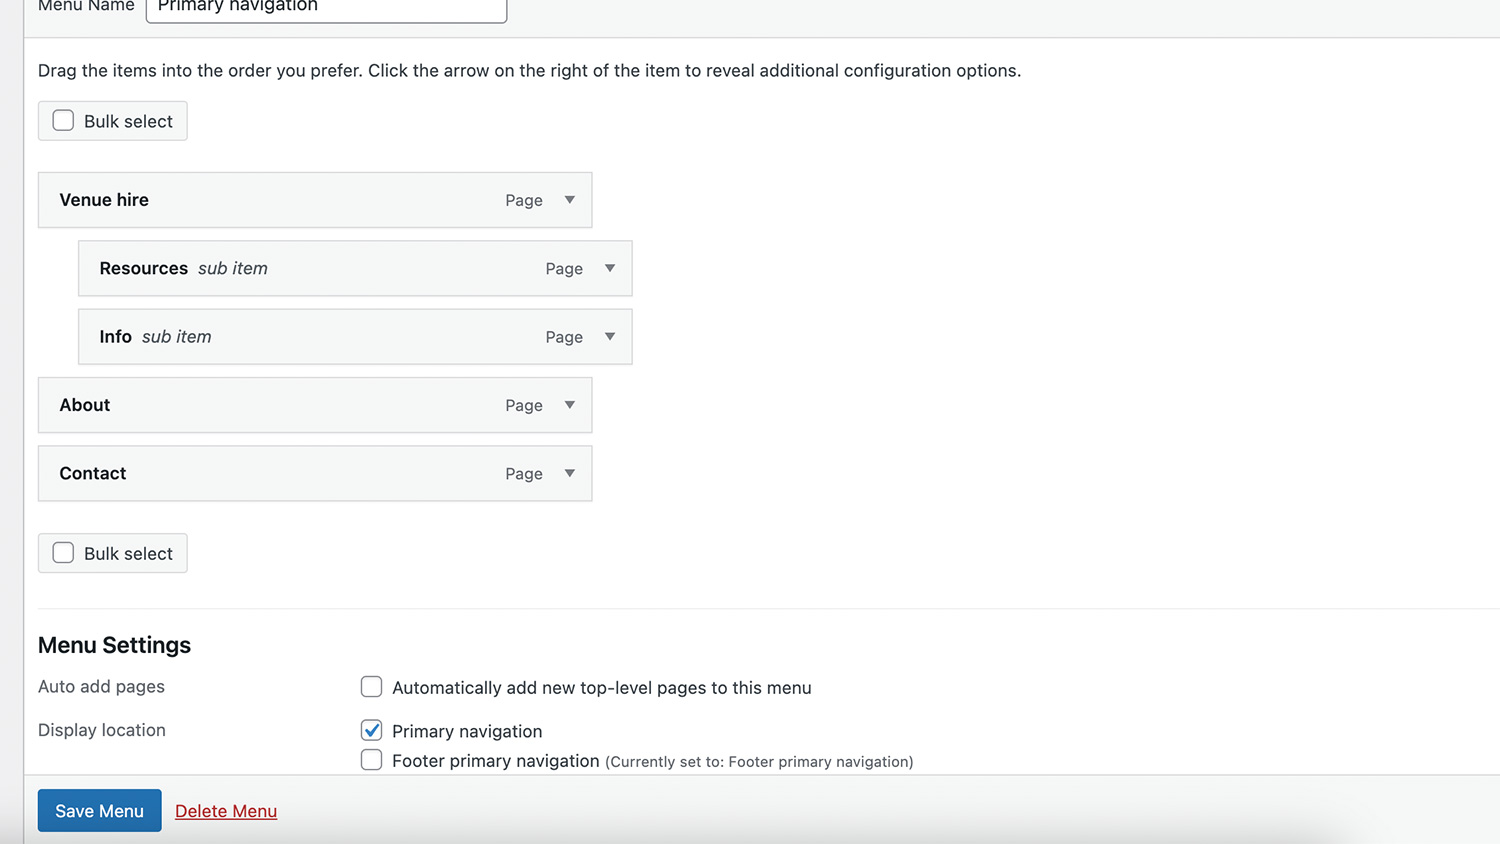
Saving The Menu

  • At the bottom of the menu editor, you’ll find Menu Settings.
  • You can select a display location for your menu. The available options depend on your theme, but common locations include “Primary,” “Footer,” and “Social Menu.”
  • Check the box next to the desired location(s) for your menu.
Saving the menu
Saving the menu

Editing an Existing Menu

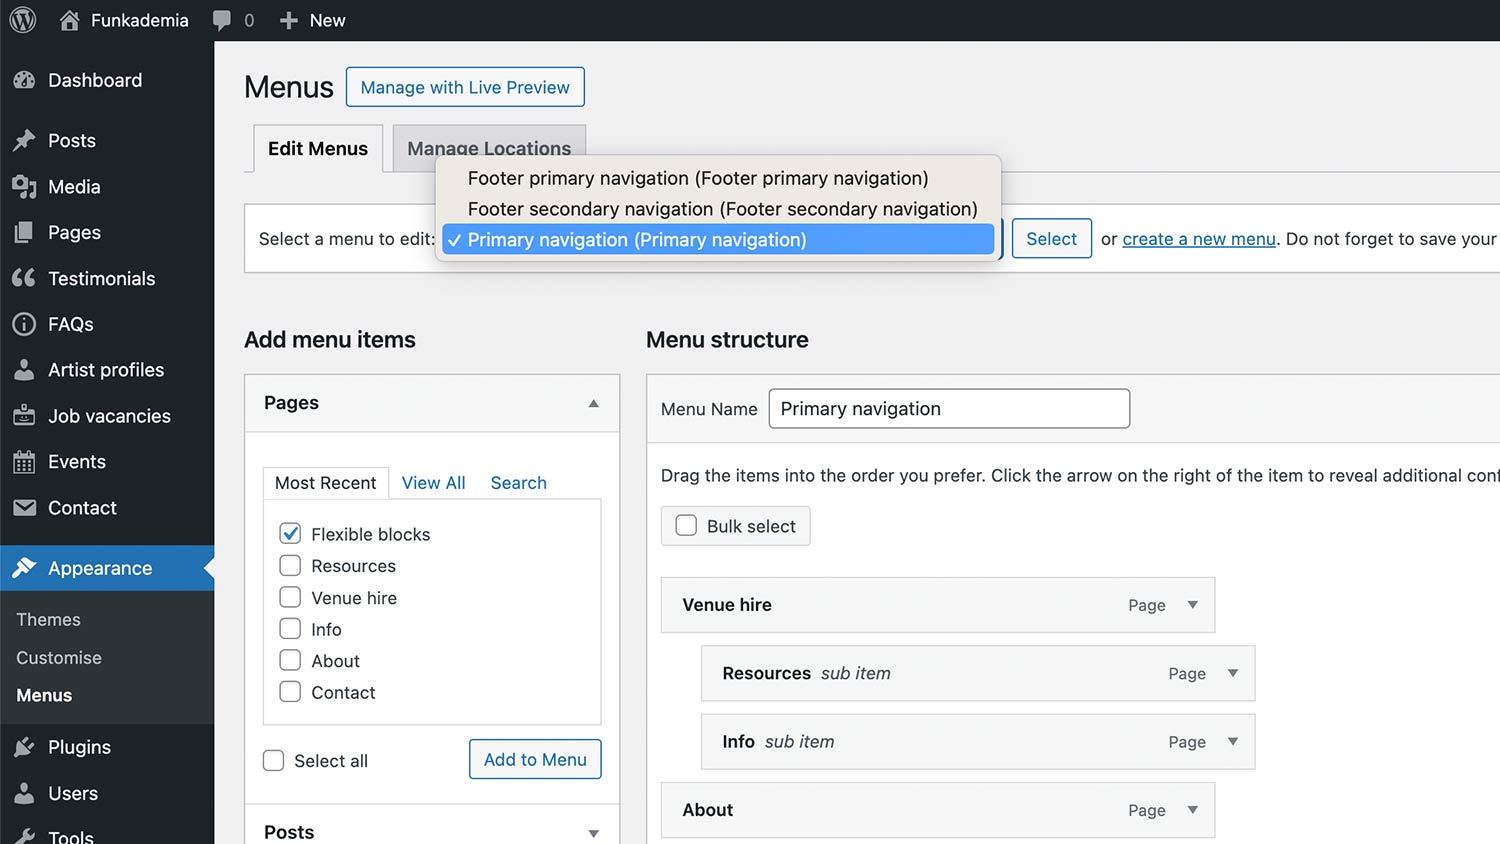
  • To edit an existing menu, select it from the dropdown menu at the top of the Menus screen and click the “Select” button.
  • Make any necessary changes to the menu items, order, or settings.
  • Click “Save Menu” to save your changes.
Editing an existing menu

Removing Menu Items

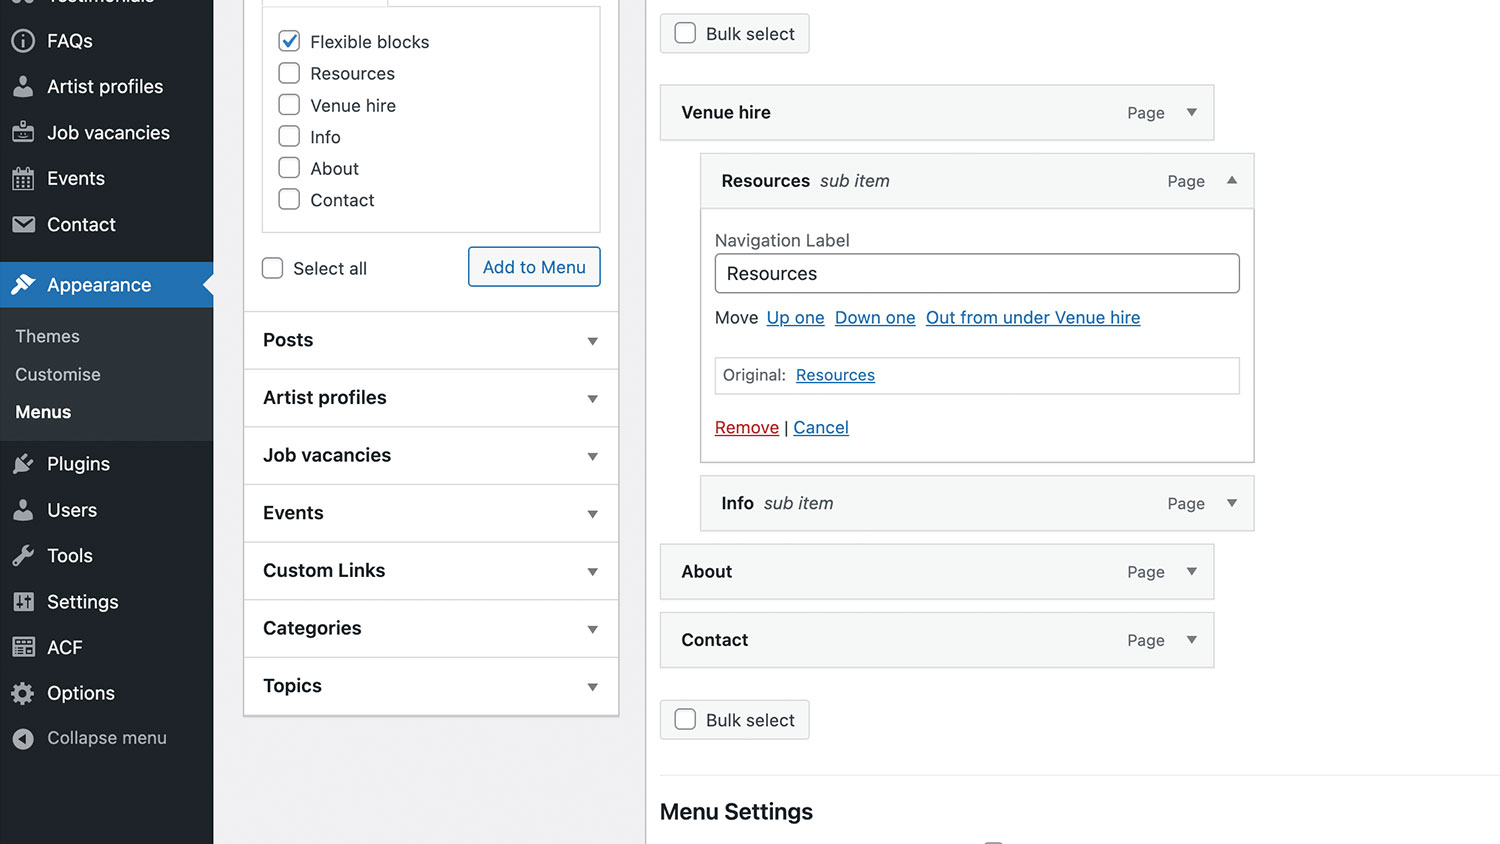
  • To remove an item from your menu, click the down arrow on the right side of the menu item to expand its settings.
  • Click the “Remove” link at the bottom of the expanded item settings.
  • Save the menu after removing items.
Removing menu items from the menu

Managing Menu Locations

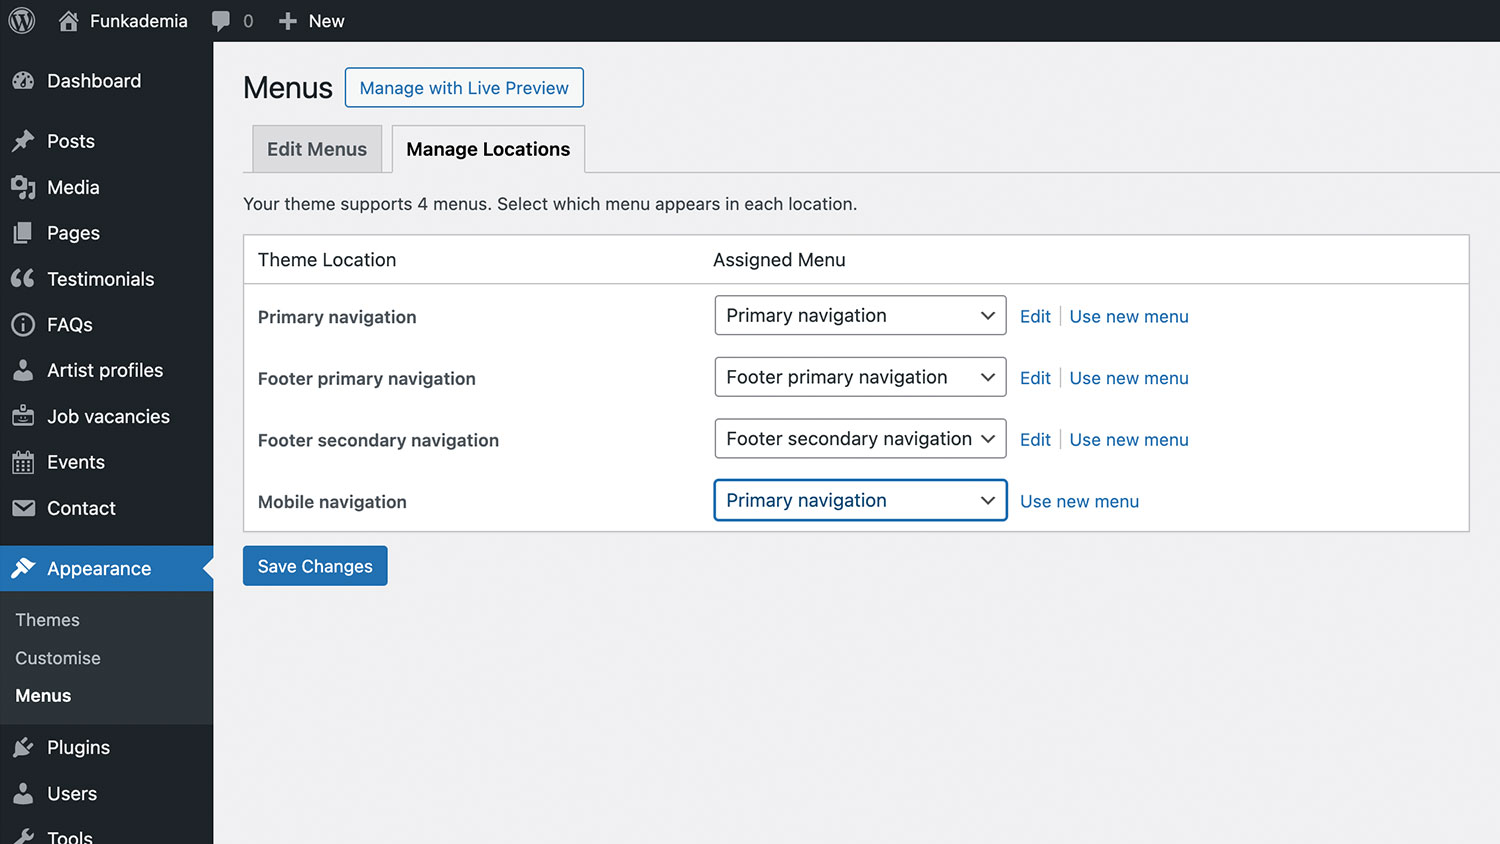
  • If your theme supports multiple menus, you can assign menus to different locations.
  • Click on the “Manage Locations” tab at the top of the Menus screen.
  • Use the dropdowns to assign your menus to the available locations.
  • Click the “Save Changes” button to apply your settings.
Managing menu locations

Summary

Creating and managing menus in WordPress helps you organise your site’s navigation effectively. By following these steps, you can create a new menu, add and organise items, configure settings, and assign menus to different locations. Properly structured menus enhance the user experience, making it easier for visitors to find the content they need.