The global options settings
Last updated: October 22, 2024
Read time: 15 minutes
Global Options Overview
This page will walk you through the various settings available on the global options page of your WordPress site. This page allows you to customise important aspects of your site, including branding, social media links, tracking codes, and more. The options page is divided into several tabs, each focusing on a specific area of customisation. Below is a breakdown of each section.
Branding
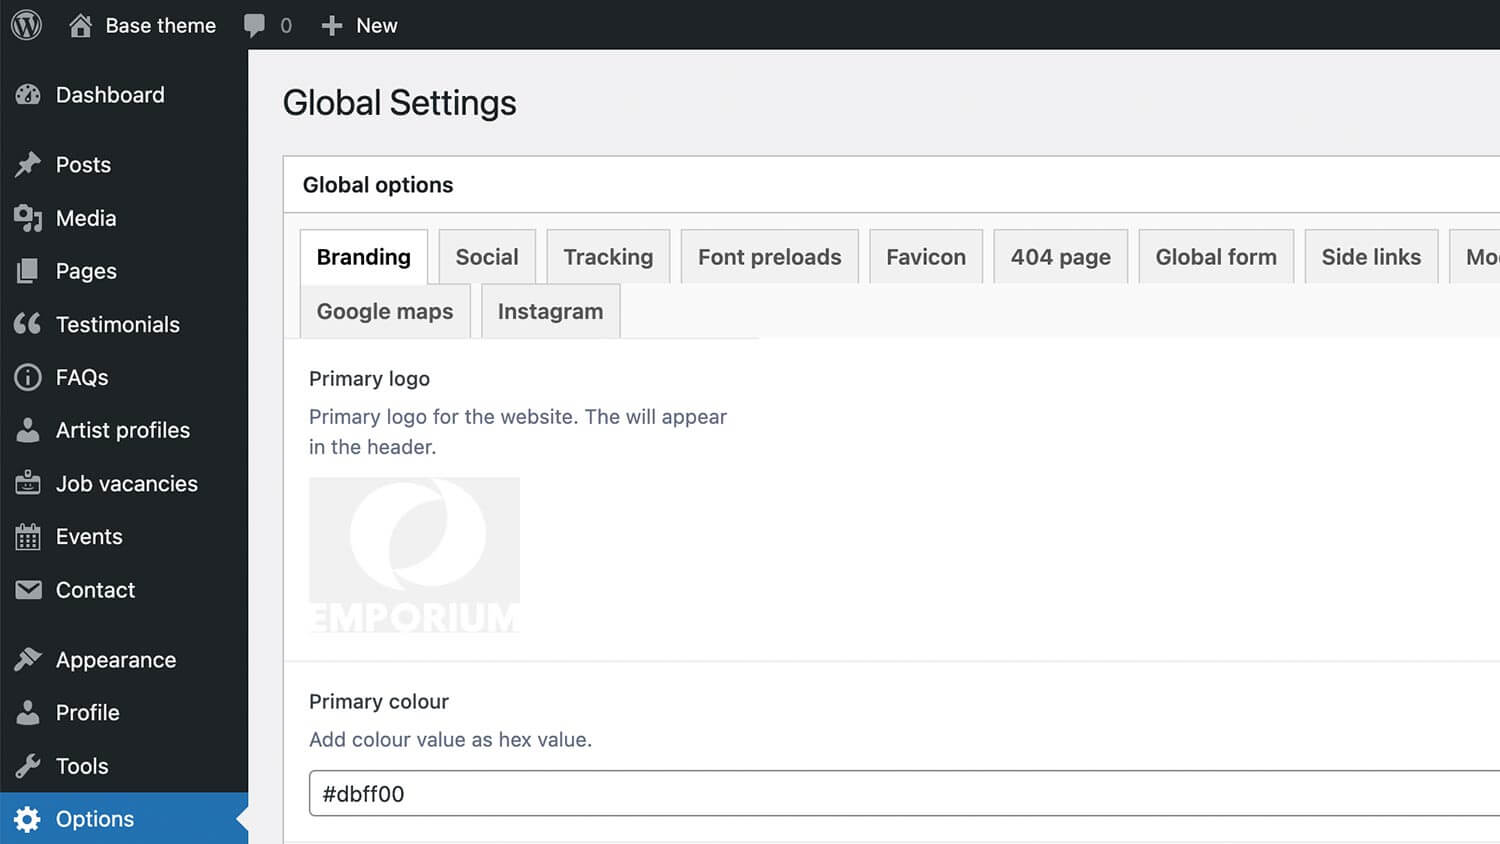
Customise the visual identity of your site by uploading your primary logo and setting colour schemes, including primary, secondary, grey, and body colours.
- Primary Logo: Upload the primary logo for your website. This will appear in the header.
- Primary Colour: Set your primary color using a hex value (e.g.,
#dbff00). - Secondary Colour: Define a secondary color for your site.
- Grey Colour: Set a grey tone for elements like text or backgrounds.
- Body Colour: Specify the main body color for your website.
Tracking
Input tracking codes, including Google Tag Manager and Facebook Pixel, to monitor site analytics and user behaviour. These can be generated in their respective platforms. Any code added will then be inserted into the header of the site.
- Tag Manager Code: Insert your analytics tracking code to be placed before the closing
</head>tag. - Tag Manager No Script Code: Add a no-script tag to be inserted just after the opening
<body>tag. - Facebook Pixel: Include your Facebook pixel code for tracking and retargeting purposes.
Font Preloads
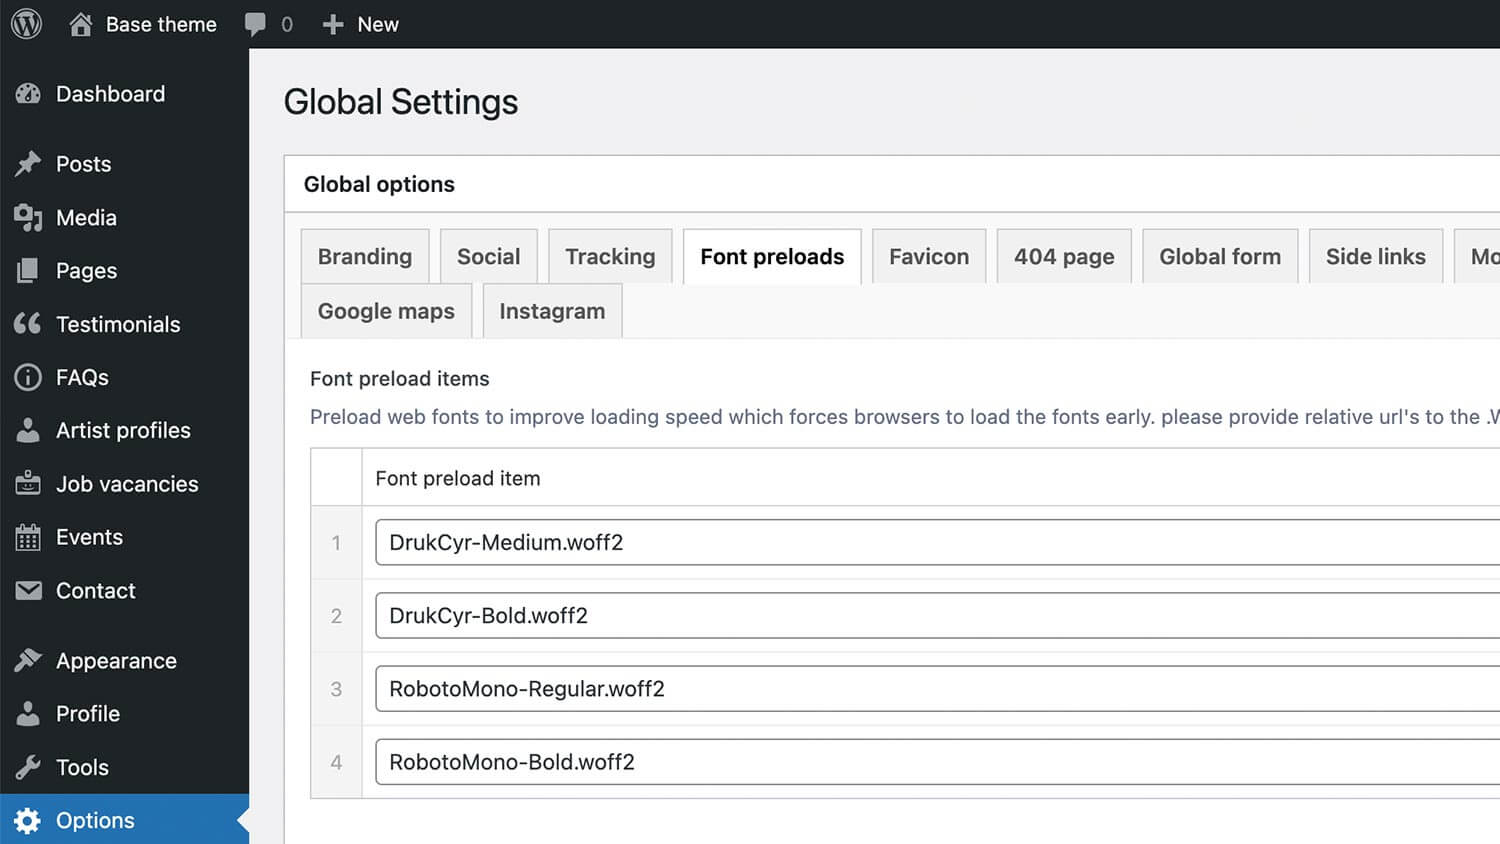
Improve loading speed by specifying which web fonts to preload, ensuring a smoother user experience. Typically this will be setup by Skiddle so it’s unlikely you’ll need to worry about this.
- Font Preload Items: List web fonts to improve loading speed. This section allows you to preload fonts by entering the relative URLs to the
.woff2font files.
Favicon
Upload favicon images for browser tabs, as well as icons for Apple touch and Android Chrome devices.
- Favicon PNG: Upload the favicon image that will be displayed in the browser tab.
- Apple Touch Icon: Specify an apple touch icon (180×180).
- Android Chrome Icon: Upload an Android icon (192×192).
- MS application tile: Add a Microsoft icon (144×144).
404 Page
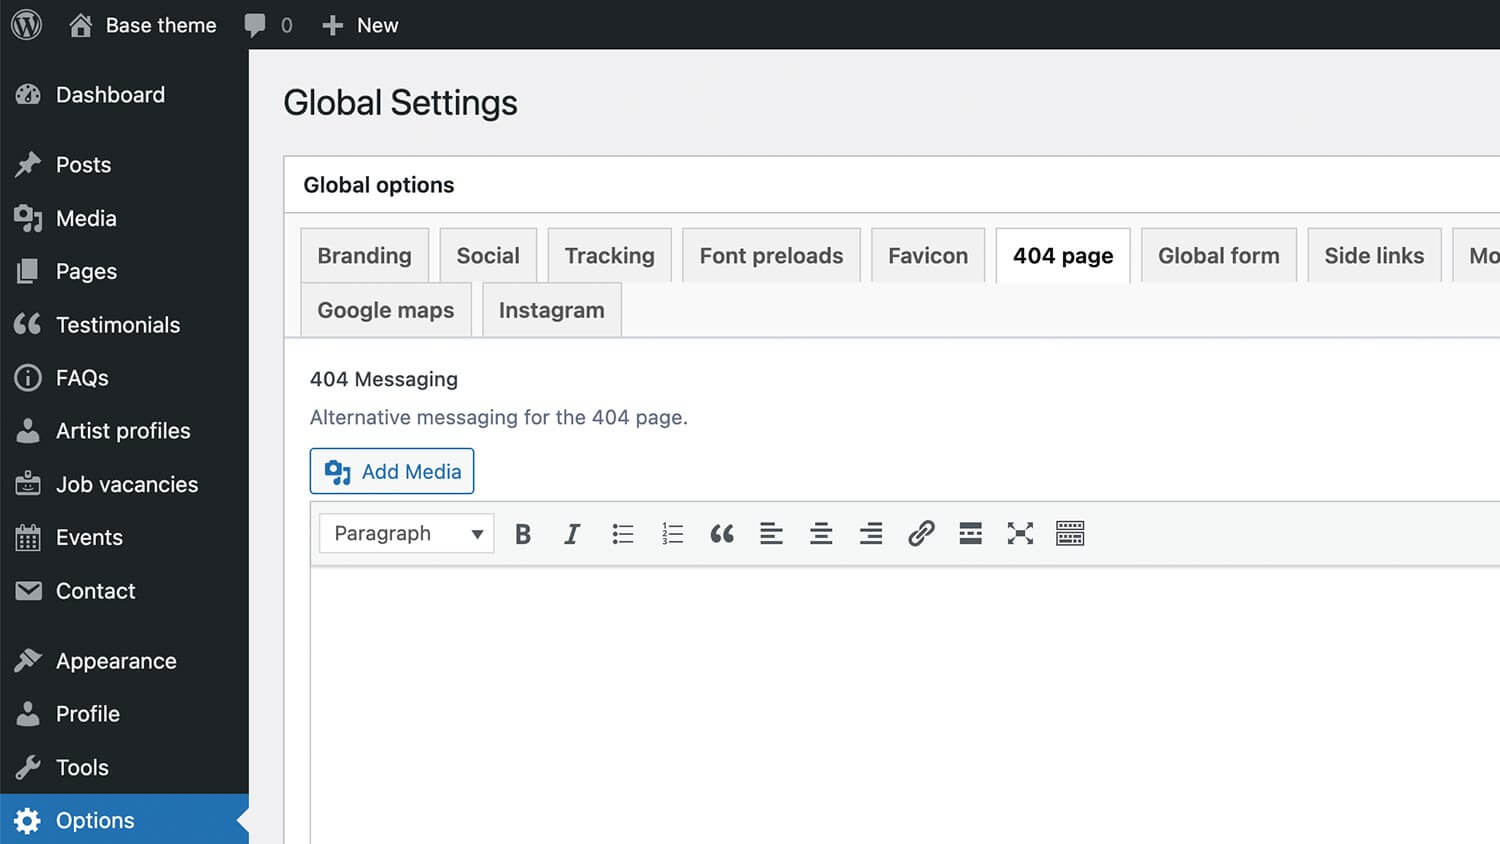
Customise the messaging displayed on 404 error pages to guide users back to relevant content or the main site. If left blank the default text is displayed.
- 404 Messaging: Provide alternative messaging for the 404 error page to guide users back to the main site or relevant content.
Global form
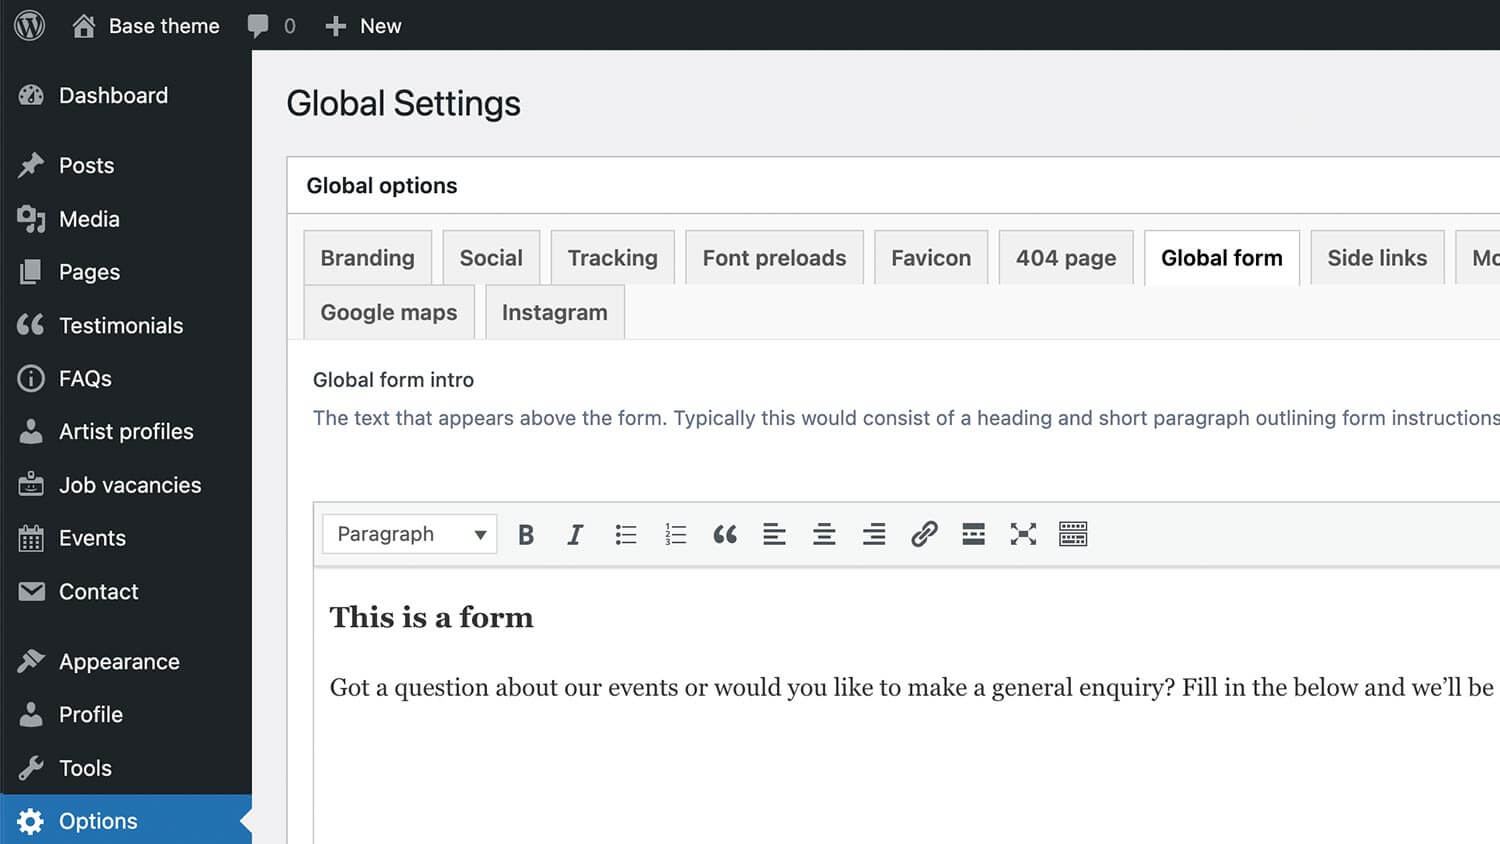
Set up a global form with introductory text, button customisation, and display settings to enhance user interaction. When enabled, a button will be visible in the bottom right hand side of the screen which when clicked, will open the form.
- Global Form Intro: Add text that appears above the form, typically including a heading and short paragraph.
- Global Form Button Text: Specify the text for the button that toggles the display of the form.
- Global Form: Select a form from the list to display in the form side panel. Form can be created in the Contact tab.
- Show Global Form: Enable or disable the display of the global form.
Side links
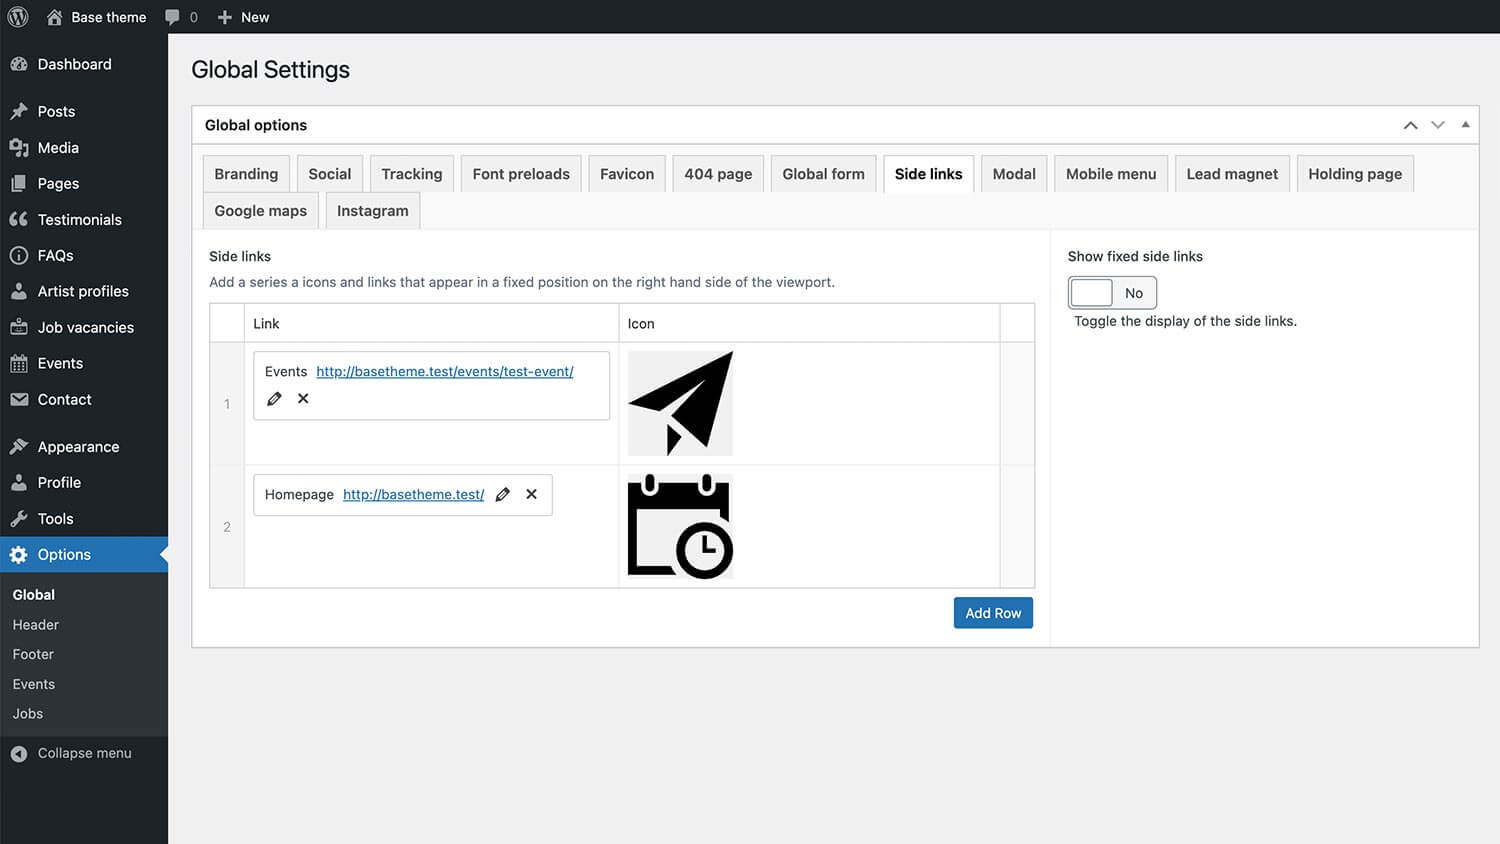
Add and manage fixed position side links with icons, providing quick navigation options for users. When enabled, the links will appear on the right hand side of the screen in a fixed position.
- Side Links: Add a series of icons and links that appear in a fixed position on the right-hand side of the viewport.
- Link: Enter the URL for each link.
- Icon: Upload or select an icon for each side link.
- Show Fixed Side Links: Toggle the display of the side links.
Modal
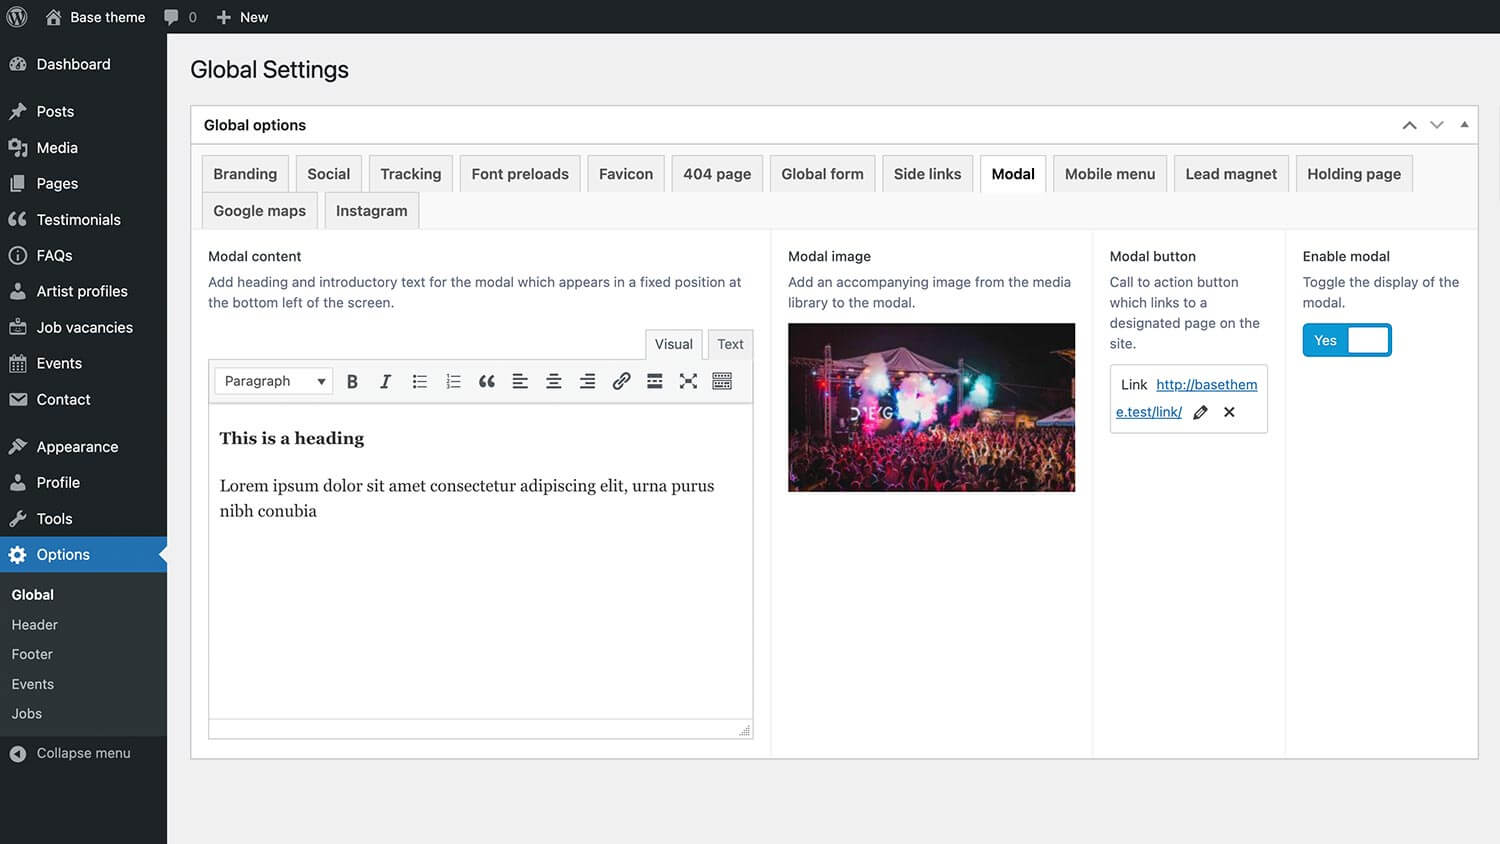
Configure modal content with introductory text, images, and a call-to-action button, along with the option to enable or disable the modal display.
- Modal Content: Add heading and introductory text for the modal, which appears in a fixed position at the bottom left of the screen.
- Modal Image: Upload an accompanying image from the media library to the modal.
- Modal Button: Define the call-to-action button text and link to a designated page on the site.
- Enable Modal: Toggle the display of the modal.
Instagram feed
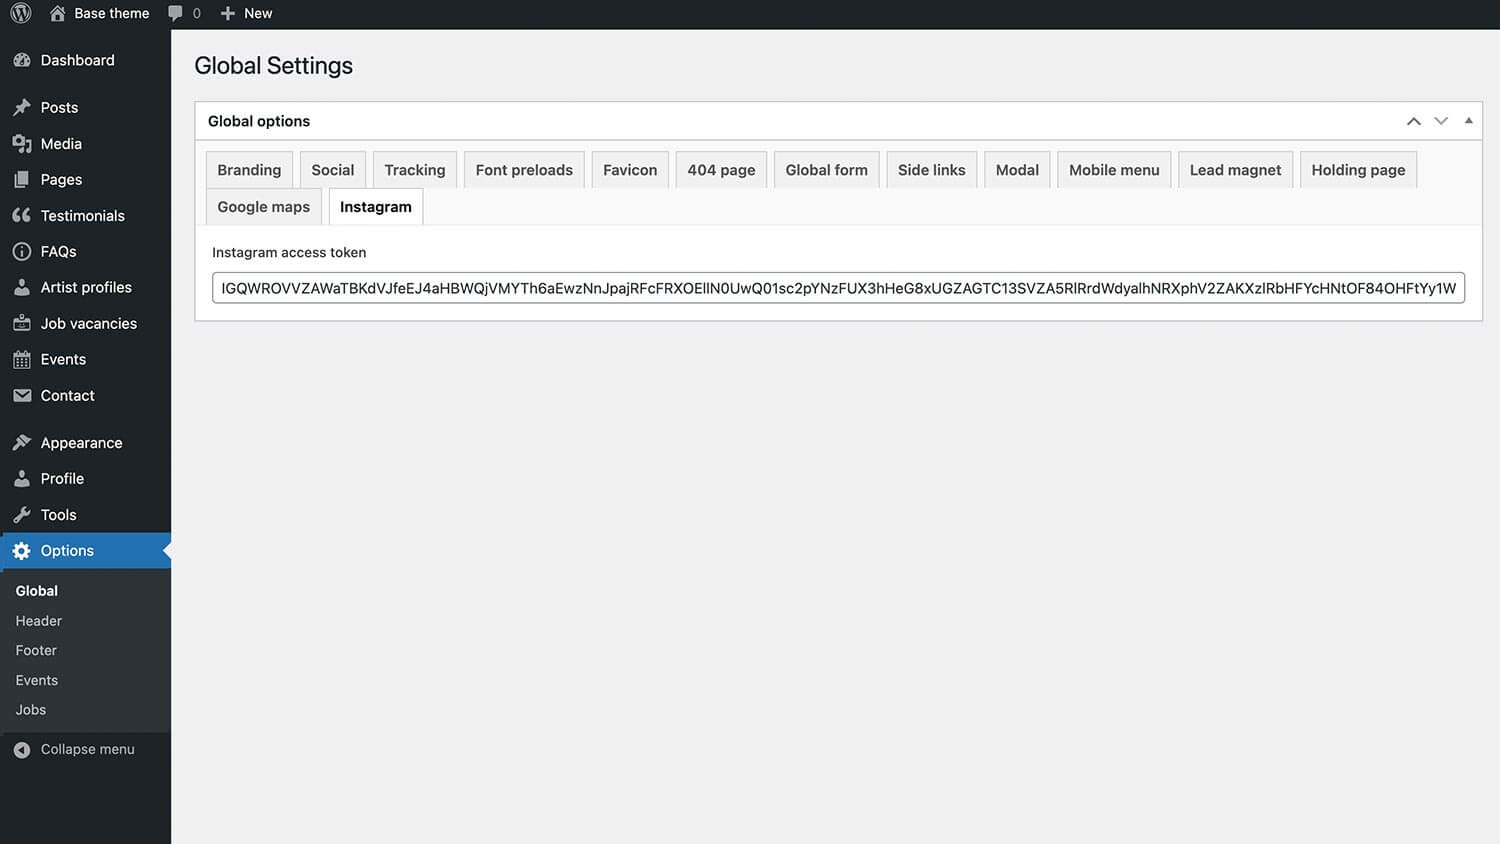
Connect your site to Instagram by entering an access token to fetch and display posts from your account. Usually this will be handled by Skiddle and will already be working when the site is handed over. Once connected an Instagram feed can be added to your pages using the Instagram flexible block. Please note, by changing your Instagram password this may cause the feed to stop working.
- Instagram Access Token: Enter your Instagram access token to connect your site to Instagram’s API for fetching posts.
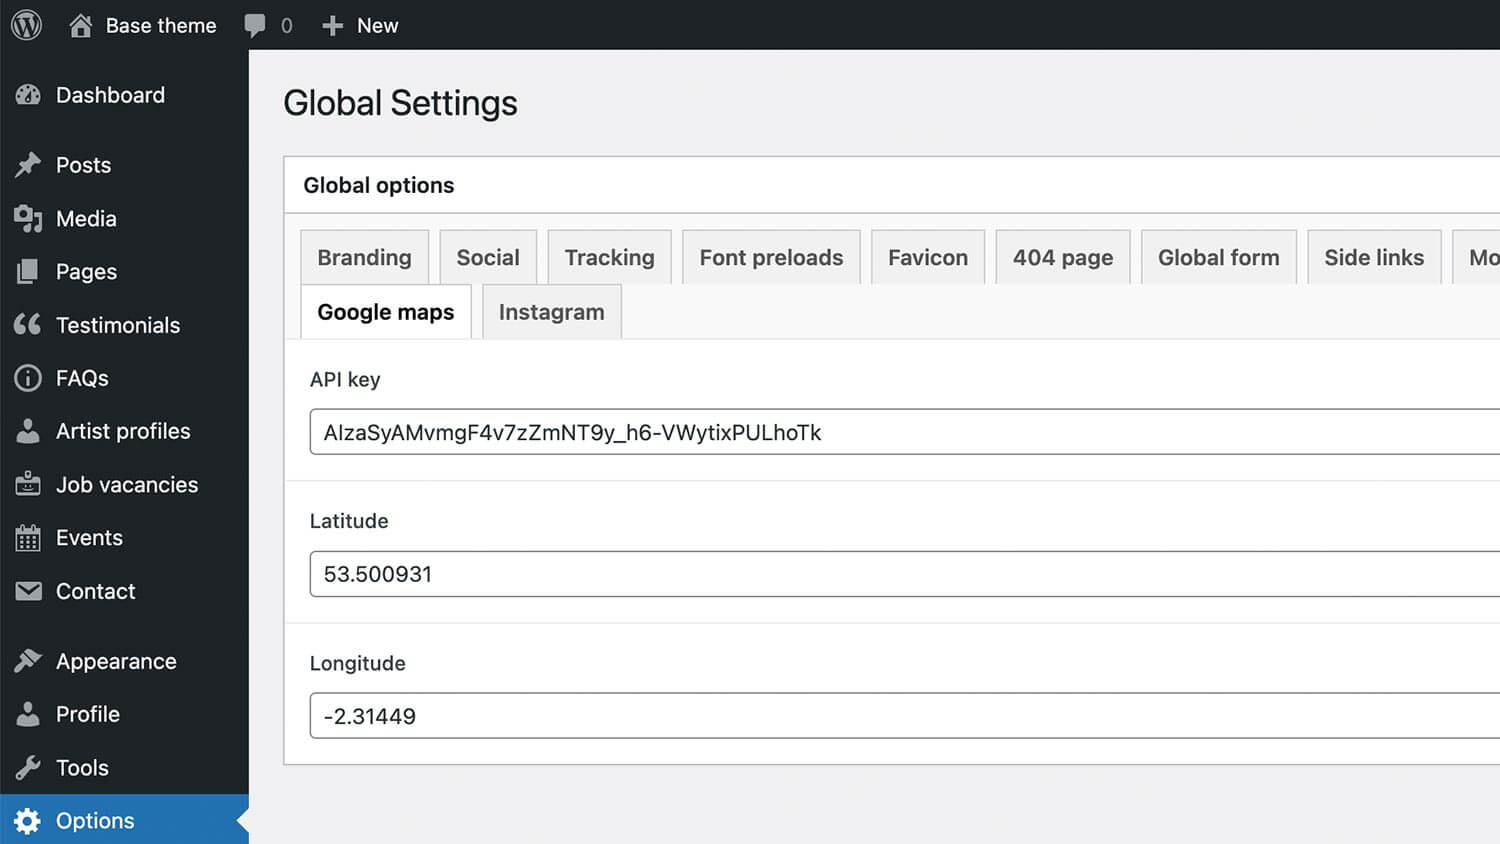
Google Maps
Input your Google Maps API key, along with latitude and longitude coordinates, to enable map functionalities on your site. You can use sites like Latitude and Longitude Finder to find out the latitude and longitude of your address. Once the values have been added and an API key has been obtained a map can then be displayed on any page using the Google map flexible block. Usually this will have been already set up by Skiddle before the site has been handed over.
- API Key: Input your Google Maps API key to enable map functionalities.
- Latitude: Enter the latitude for your location.
- Longitude: Enter the longitude for your location.
Lead Magnet
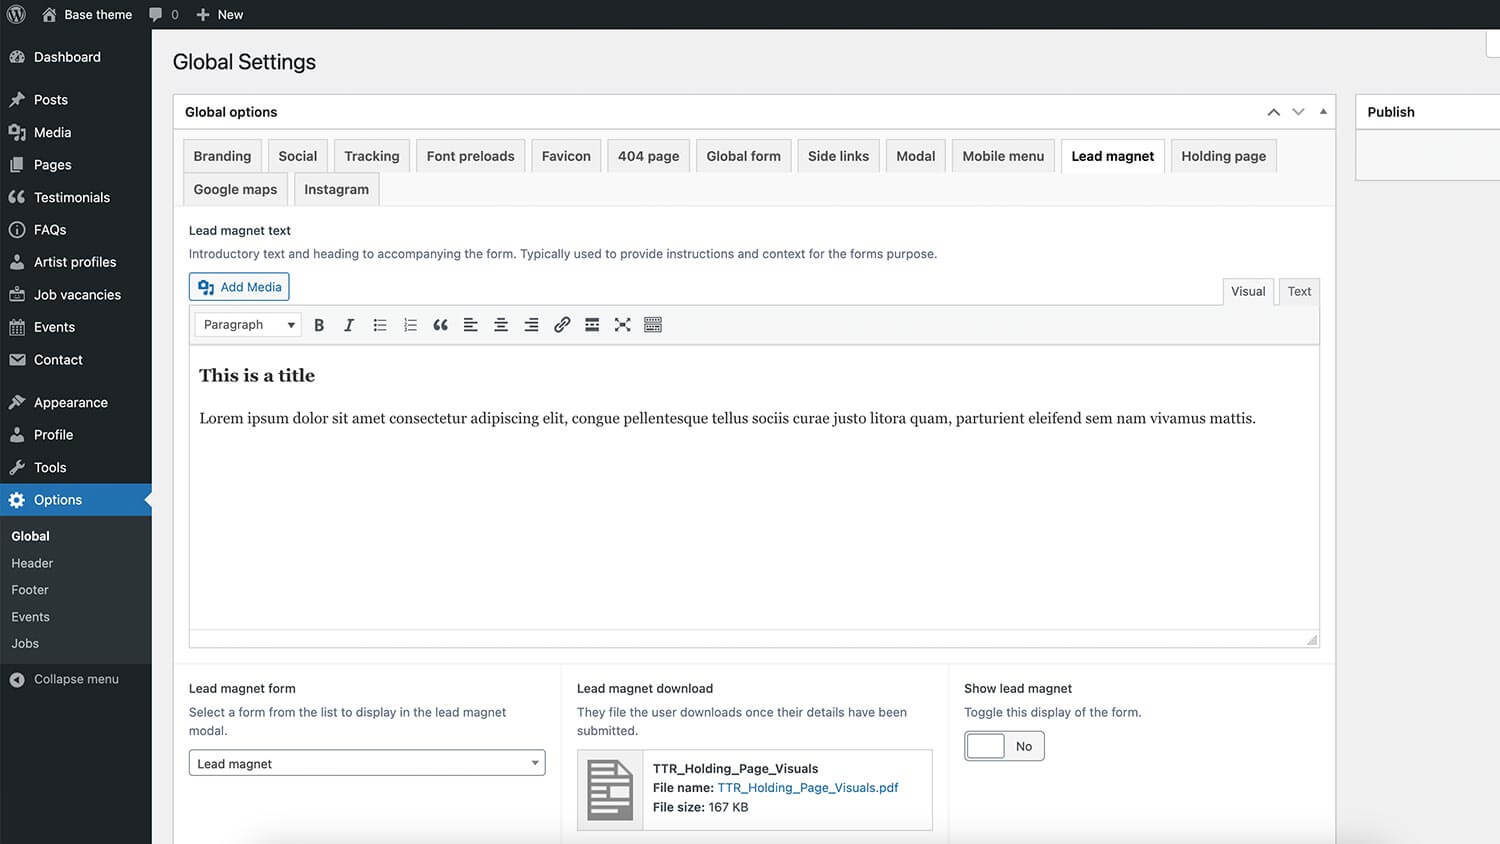
Create and manage lead magnets with introductory text, downloadable content, and form selection for user engagement. A lead magnet is used to capture the details of the users detailed. Once their details have been entered they’re redirected to a download – traditionally it the form of a downloadable PDF.
- Lead Magnet Text: Add introductory text and heading for the lead magnet form to provide context for its purpose.
- Lead Magnet Form: Select a form from the list to display in the lead magnet modal.
- Lead Magnet Download: Specify a downloadable file that users receive once they submit their details.
- Show Lead Magnet: Toggle the display of the lead magnet form.
Holding Page
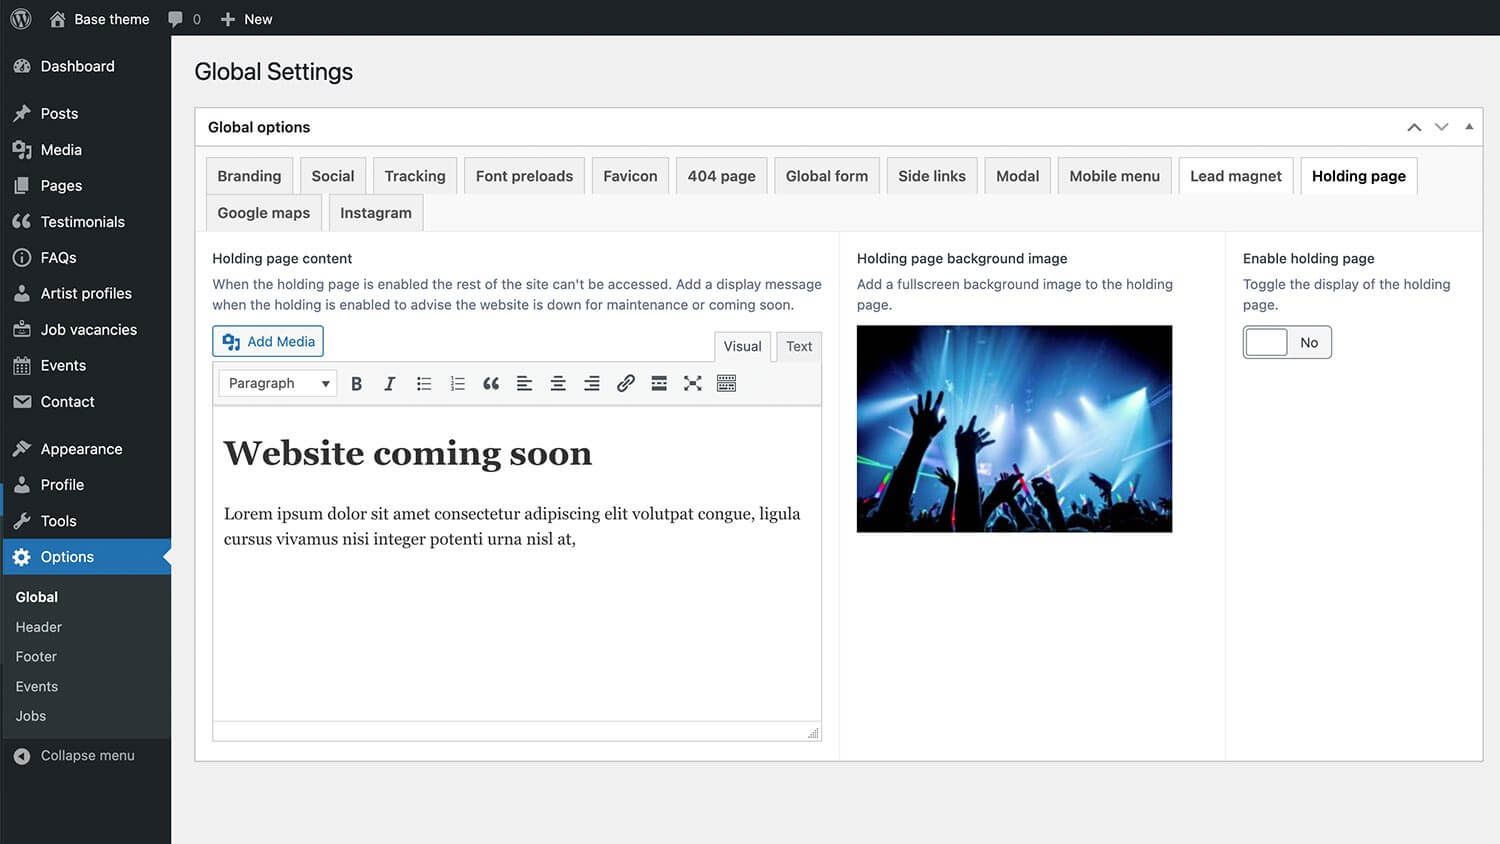
Set up a holding page with customisable content and background images to inform users that the site is temporarily down for maintenance or waiting to launch.
- Holding Page Content: When the holding page is enabled, this content displays a message advising that the website is down for maintenance or coming soon.
- Holding Page Background Image: Upload a fullscreen background image for the holding page.
- Enable Holding Page: Toggle the display of the holding page.
Social
Manage social media links and icons for platforms like Facebook, Instagram, and Twitter. These can then be displayed in the header and footer of the site if this option is enabled.